PHN0eWxlPgouZGlzY2xhaW1lciB7CmJhY2tncm91bmQ6I2U3ZjJmYTsKICAgIGxpbmUtaGVpZ2h0OiAyNHB4OwogICAgbWFyZ2luLWJvdHRvbTogMjRweDsKICAgICAgYm9yZGVyLXJhZGl1czogMTBweDsKICAgIG92ZXJmbG93OiBoaWRkZW47CiAgICBib3gtc2hhZG93OiAwIDAgMTBweCByZ2IoMCAwIDAgLyAzMCUpOwogIGZvbnQtZmFtaWx5OiBvcGVuLXNhbnMsIGhlbHZldGljYSwgc2Fucy1zZXJpZjsKfQouZGlzLXRpdGxlIHsKYmFja2dyb3VuZDojNmFiMGRlOwogIGZvbnQtd2VpZ2h0OiA3MDA7CiAgICBkaXNwbGF5OiBibG9jazsKICAgIGNvbG9yOiAjZmZmOwogICAgYmFja2dyb3VuZDogIzZhYjBkZTsKICAgIHBhZGRpbmc6IDZweCAxMnB4Owp9Ci5kaXMtdGV4dCB7CiAgICBwYWRkaW5nOiA2cHggMTJweDsKfQouZGlzLXRleHQgYSB7CnRleHQtZGVjb3JhdGlvbjogdW5kZXJsaW5lICFpbXBvcnRhbnQ7Cn0KPC9zdHlsZT4KPGRpdiBjbGFzcz0iZGlzY2xhaW1lciI+CjxkaXYgY2xhc3M9ImRpcy10aXRsZSI+Tm90ZTwvZGl2Pgo8ZGl2IGNsYXNzPSJkaXMtdGV4dCI+VGhpcyB0dXRvcmlhbCBpcyBkZXNpZ25lZCBmb3IgTmlyeW8gT25lIHVzZXJzLiBJZiB5b3UgYXJlIHVzaW5nIE5lZCwgcGxlYXNlIGZpbmQgdGhlIG5ldyB0dXRvcmlhbCA8YSBocmVmPSJodHRwczovL2RvY3MubmlyeW8uY29tL2FwcGxpY2F0aW9ucy9uZWQvc291cmNlL3R1dG9yaWFscy9jb250cm9sX2NvbnZleW9yX2JlbHRfYXJkdWluby5odG1sIiB0YXJnZXQ9Il9ibGFuayI+aGVyZTwvYT4uPC9kaXY+CjwvZGl2Pg==
The Conveyor Belt has a stepper motor that is controlled with the custom Niryo Arduino compatible board. In this tutorial, you will learn how to control the Conveyor Belt with an Arduino board.
This board has:
- A communication interface: CAN bus (using MCP2515 to make a SPI-CAN interface), this interface is used to control the Conveyor Belt with the Niryo One.
- A digital input interface: this interface is in the controller module
- An analog input.
Prepare your programming environment
If you want to control the Conveyor Belt with another Arduino, you need to change the actual firmware.
Step 1: Prepare your Arduino IDE
- If you haven’t installed the Arduino IDE, download it and install it from here. The microcontroller (SAMD type) used in the Niryo Stepper is not already included in the supported boards, so you’ll need to add the extension.
- Open the boards manager:

- Now, search for “zero”:
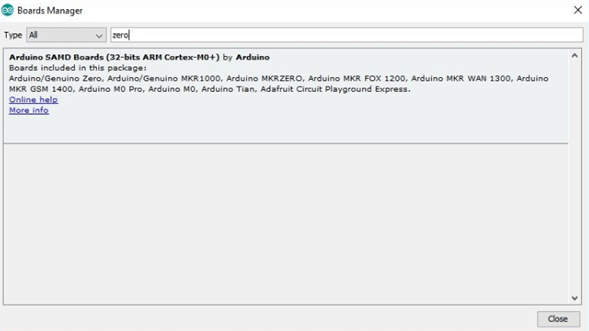
- Click on the package and install it. This may take a few minutes.
- Once done, restart your Arduino IDE.
Step 2: Get the Conveyor Belt firmware
- Download the firmware from our GitHub repository.
- Extract the archive. If the name of the folder is not “NiryoConveyor”, then rename it to this name.
- Open the folder and double click on NiryoStepper.ino. The program will open in your Arduino IDE.
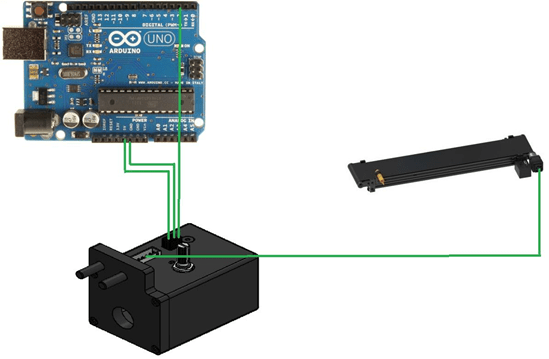
Control the Conveyor Belt with an Arduino Uno
In this part , you will be able to start and stop the Conveyor Belt using your Arduino Uno.
Components:
- Arduino Uno
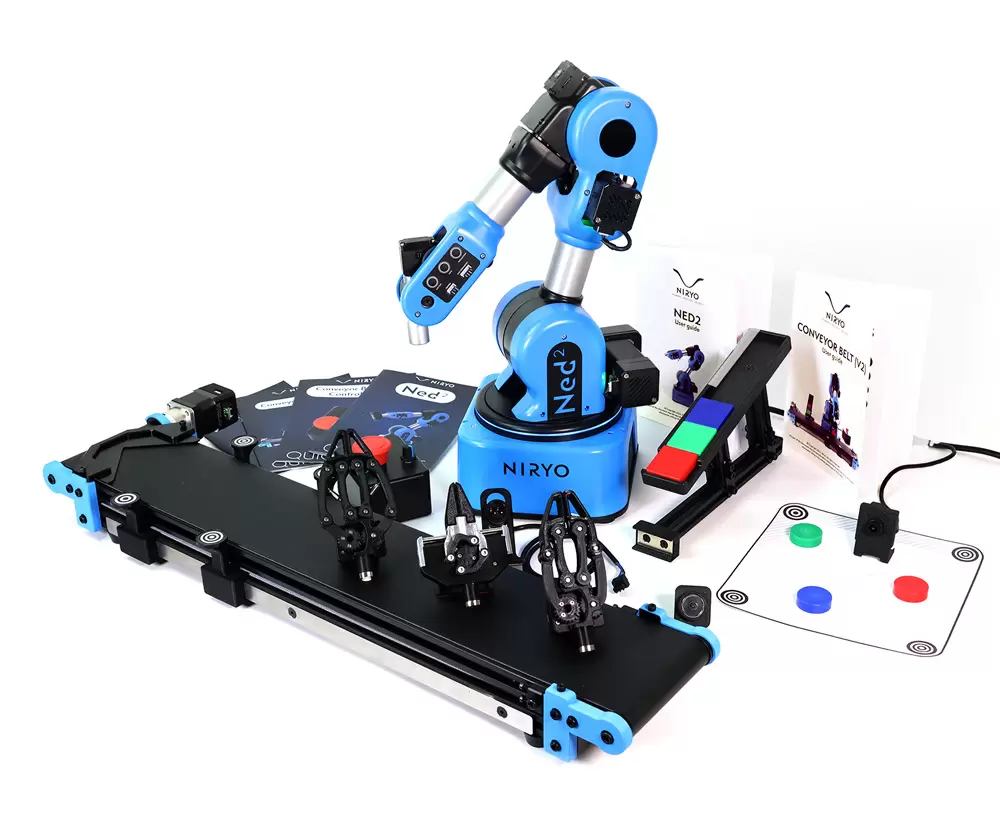
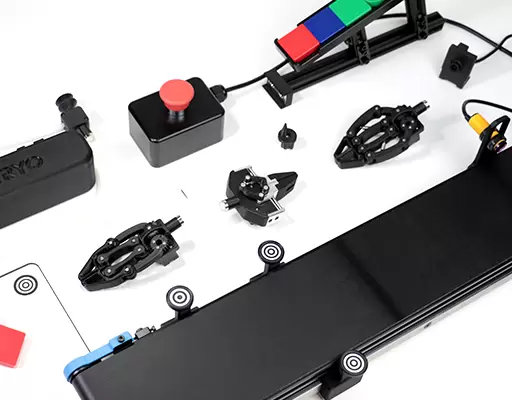
- Conveyor Belt
Setup:
- Connect Arduino Uno to the digital interface of the Control Box of the Conveyor Belt
Code:
Conveyor code:
- Add this function to NiryoConveyor.ino
| void control_conveyor_arduino(int conveyor_speed , int conveyor_direction) { if ((conveyor_speed ==0) or (digitalRead(digital_input_pin) == LOW)){relaxed_mode_with_resistance();fan_LOW();} else if (digitalRead(digital_input_pin) == HIGH){ fan_HIGH();delay_steps = (10 * (100 – conveyor_speed)) + 200;output(-1800 * conveyor_direction * steps_position / 8, UMAX_20_PERCENT); // 32 microsteps -> more precisionsteps_position = steps_position + 1;delayMicroseconds(delay_steps);}} |
- Copy this code on the loop function of NiryoConveyor.ino
| void loop() {// conveyor direction 1 -> forward , -1 -> backward
// conveyor speed : 0 -> 100% control_conveyor_arduino(40 , 1); } |
Arduino code:
| // constants won’t change. Used here to set a pin number:const int conveyorPin = 2;// the number of the LED pinint conveyorState = LOW;
void setup() { // set the digital pin as output: pinMode(conveyorPin, OUTPUT); } void loop() { // add a condition here exemple button Pin state // if (buttonPin == HIGH) { conveyorState = HIGH else { conveyorState = LOW } // send the state digitalWrite(conveyorPin, conveyorState); // set the LED with the ledState of the variable: digitalWrite(ledPin, ledState); } |
Now, you can control the Conveyor Belt with the Arduino board.