PHN0eWxlPgouZGlzY2xhaW1lciB7CmJhY2tncm91bmQ6I2U3ZjJmYTsKICAgIGxpbmUtaGVpZ2h0OiAyNHB4OwogICAgbWFyZ2luLWJvdHRvbTogMjRweDsKICAgICAgYm9yZGVyLXJhZGl1czogMTBweDsKICAgIG92ZXJmbG93OiBoaWRkZW47CiAgICBib3gtc2hhZG93OiAwIDAgMTBweCByZ2IoMCAwIDAgLyAzMCUpOwogIGZvbnQtZmFtaWx5OiBvcGVuLXNhbnMsIGhlbHZldGljYSwgc2Fucy1zZXJpZjsKfQouZGlzLXRpdGxlIHsKYmFja2dyb3VuZDojNmFiMGRlOwogIGZvbnQtd2VpZ2h0OiA3MDA7CiAgICBkaXNwbGF5OiBibG9jazsKICAgIGNvbG9yOiAjZmZmOwogICAgYmFja2dyb3VuZDogIzZhYjBkZTsKICAgIHBhZGRpbmc6IDZweCAxMnB4Owp9Ci5kaXMtdGV4dCB7CiAgICBwYWRkaW5nOiA2cHggMTJweDsKfQouZGlzLXRleHQgYSB7CnRleHQtZGVjb3JhdGlvbjogdW5kZXJsaW5lICFpbXBvcnRhbnQ7Cn0KPC9zdHlsZT4KPGRpdiBjbGFzcz0iZGlzY2xhaW1lciI+CjxkaXYgY2xhc3M9ImRpcy10aXRsZSI+Tm90ZTwvZGl2Pgo8ZGl2IGNsYXNzPSJkaXMtdGV4dCI+VGhpcyBhcHBsaWNhdGlvbiBpcyBkZXNpZ25lZCBmb3IgTmlyeW8gT25lIHVzZXJzLiBJZiB5b3UgYXJlIHVzaW5nIE5lZCwgcGxlYXNlIGZpbmQgdGhlIG5ldyBkb2N1bWVudGF0aW9uIDxhIGhyZWY9Imh0dHBzOi8vZG9jcy5uaXJ5by5jb20vYXBwbGljYXRpb25zL25lZC9zb3VyY2UvZXhhbXBsZXMvdmlzaW9uX3BpY2tfYXJ0aWZpY2lhbF9pbnRlbGxpZ2VuY2VfdGVuc29yZmxvdy5odG1sIiB0YXJnZXQ9Il9ibGFuayI+aGVyZTwvYT4uPC9kaXY+CjwvZGl2Pg==
Introduction
This demonstrator uses Tensorflow, an open-source machine learning tool developed by Google, in order to allow the Niryo One to recognize multiple objects on its workspace, thanks to its Vision Set, artificial intelligence, image processing and machine learning.
Requirements
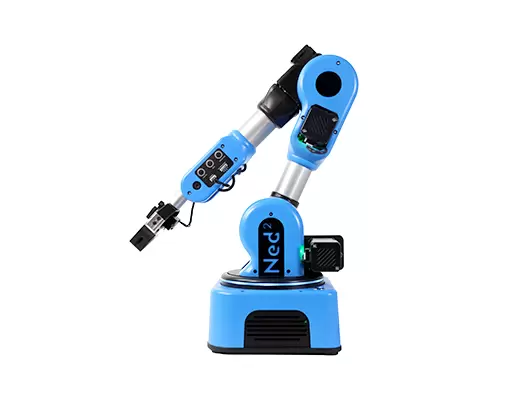
- A Niryo One,
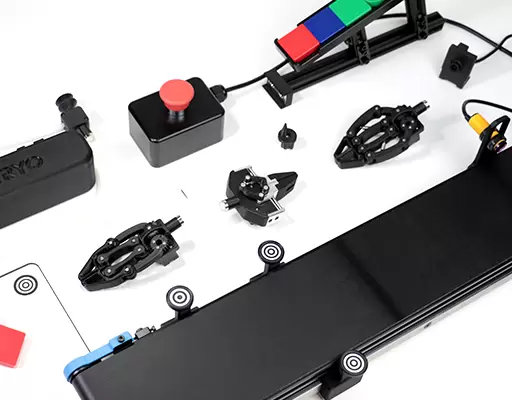
- A Large Gripper,
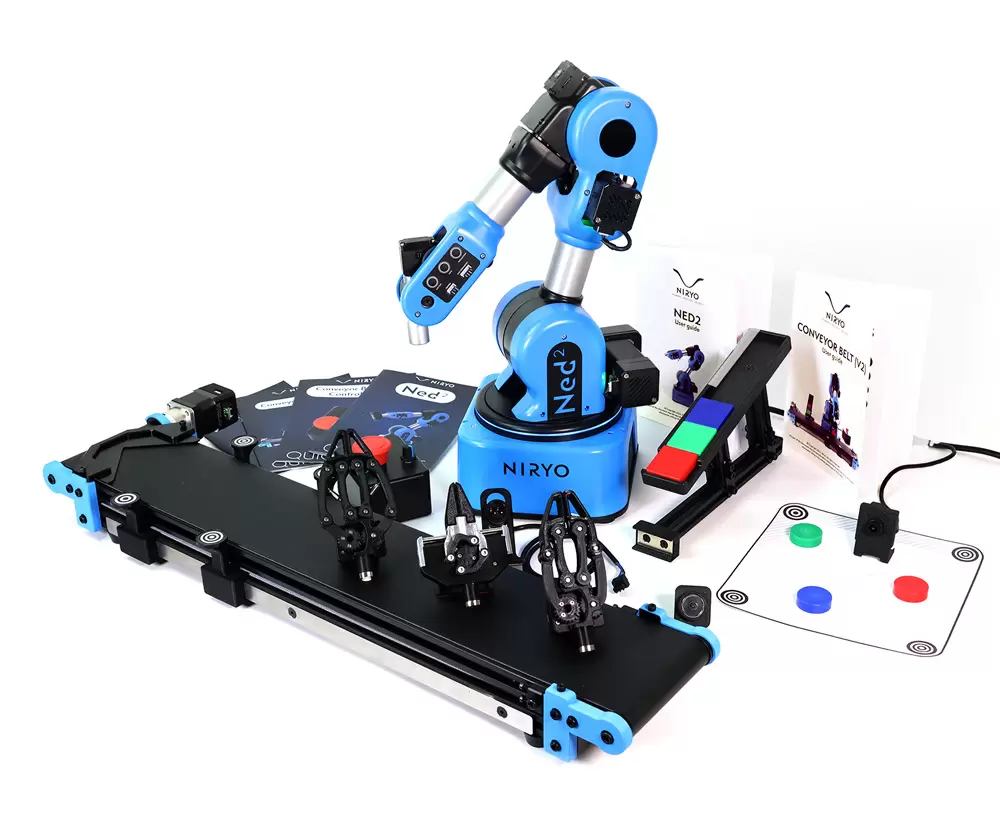
- The Vision Set and its workspace,
- Some various objects to put on the workspace (in our case, Celebration chocolates).
Installation
Hardware
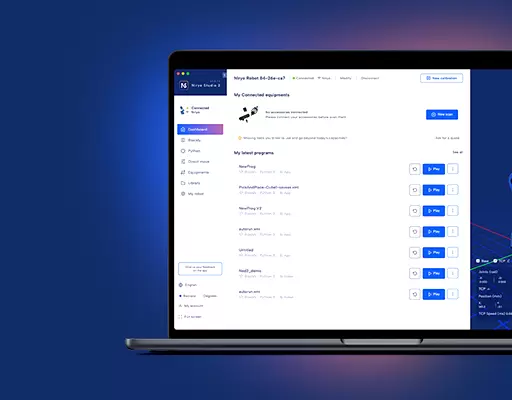
Start by calibrating the workspace with Niryo One Studio. The workspace’s name must be the same as the one you filled in the robot’s program (by default, the name is “workspace_1”).
If your workspace is not in front of the robot, you will have to change the variable “observation_pose” so the robot can see the four workspace’s landmarks.
It is important to firmly attach the robot and the workspace to maintain the precision as the manipulations go by.
When the program is launching, if the robot is not able to see the four workspace’s landmarks from its observation pose, it will automatically switch to learning mode and the graphic interface will be red.

It will then be necessary to move the camera so the robot can see the four landmarks, which will make the graphic interface turn to green. A click on the screen will confirm the actual position, which will be saved for the next use (you can still change it from the settings menu “Observation pose”).
Software
Firstly, install the Python API TCP of the Niryo One by following the link below:
https://drive.google.com/uc?export=download&id=1kLvj120O1UYl_6VXX617K7ZnF6LGDTEf
Go to the “Documentation” tap, then click on the Python TCP API Documentation.
Secondly, download the demonstrator’s source code on our GitHub on the following link:
Then, in the robot_gui.py file, change the “robot_ip_address and “workspace” variables.
| robot_ip_address = “IP adress of your robot” workspace = “workspace of your robot” |
On Windows
You must start by installing Anaconda to use the demonstrator’s installation script.
Anaconda must be installed on its default location (C:Users\anaconda3).
You will find Anaconda’s installation link down below:
https://docs.anaconda.com/anaconda/install/
Two solutions are available:
- Simplified installation
In the demonstrator’s folder:
- Launch setup.bat to install all the used libraries
- Accept the installation of these libraries
- Launch run.bat to launch the program
The program should launch. If it doesn’t, launch a manual installation.
- Manual installation
1. Open a terminal from Anaconda Navigator (CMD.exe Prompt, “Launch”)
You should see “(base)” displayed to the left of your terminal.
2. Update Anaconda
| conda update -n base -c defaults conda |
3. Create a TensorFlow 2 environment with python 3.6
| conda create -n tf_niryo_one tensorflow=2 python=3.6 |
4. Enable TensorFlow’s environment
| conda activate tf_niryo_one |
You should now see “(tf_niryo_one)” instead of “(base)” on the left of your terminal.
5. Update Tensor Flow
| pip install –upgrade tensorflow |
6. Install opencv, pygame and pygame-menu libraries
| install opencv-python pygame pygame-menu |
7. Get in the demonstrator’s folder
| cd Desktoptensorflow_niryo_one-master |
8. Launch the program
| python robot_gui.py |
On Linux
1. Install Anaconda
https://docs.anaconda.com/anaconda/install/
2. Open a terminal
You should find “(base)” displayed on the left of your username.
3. Update Anaconda
| conda update -n base -c defaults conda |
4. Create a TensorFlow 2 environment with python 3.6
| conda create -n tf_niryo_one tensorflow=2 python=3.6 |
5. Enable TensorFlow’s environment
| conda activate tf_niryo_one |
You should now see “(tf_niryo_one)” instead of “(base)” on the left of your terminal.
6. Update TensorFlow
| pip install –upgrade tensorflow |
7. Install opencv, pygame and pygame-menu libraries
| pip install opencv-python pygame pygame-menu |
8. Get in the demonstrator’s folder
| cd tensorflow_niryo_one/ |
9. Launch the program
| python robot_gui.py |
Functioning
-
Creation of the database (labelling.py)
To create your database, you need to take pictures of the objects you want to use. Take at least 20 pictures of each object to get good results.
The aim is to take pictures of each object under a multitude of angles and different lighting conditions. The pictures will be stored in a folder named with the name of the concerned object, inside the “data” folder.

-
Tracking of the objects (utils.py)
- Image shooting (“take_workspace_img()” function)
Use the TCP API to ask the robot to send an image, to crop it and to compensate the lens’ distortion.
-
- Calculation of the mask (“objs_mask()” function)
Use the cv2.cvtColor() to modify the image colorimetry from RGB to HLS, then use cv2.inRange() to get a mask which approximately delineates the objects to detect.
In order to only keep objects with a sufficient surface, combine the cv2.dilate() and cv2.erode() functions to remove images’ impurities.
We finally obtain a black and white picture corresponding to the shape of the objects placed on the workspace.

-
- Objects’ extraction (“extract_objs()” function)
Use cv2.findContours() to obtain the list of the outline of the objects being on the previously calculated mask.
Then, calculate the center as well as the angle of the objects with the help of the vision functions of the TCP/IP API get_contour_barycenter() and get_contour_angle().
With cv2.minAreaRect() we obtain a square containing the smallest object and use this information to extract the object from the image and put it vertically (giving the same orientation to these images makes the recognition easier for TensorFlow).

- Training (training.py)
Launch training.py or click on the “Train” button on the graphic interface. This creates a TensorFlow model (neural network). Then create a list which contains all the images from the “data” folder and a list which contains the label corresponding to each image.
Use .fit(, ) to train the model with the database.
When the training is over, test the model’s performances and save it in the “model” folder.
-
Prediction (robot.py / robot_gui.py)
Launch robot.py or the graphic interface’s “Play” menu:
Use the previously trained model to recognize the different objects on the workspace.
Features
Graphic interface for keyboard / track mouse or touch screen.
Menu structure:
- Main menu
-
- Play
- Settings
- Observation pose
- Drop pose
- Labelling
- Name:
- Name:
- Add img
- Train
- Update
- Quit
- Play
Details:
- Main Menu
-
- Play
- Play
One or more pages containing objects and their miniature. Click on the name of the object of your choice to ask the robot to grab it.
-
- Settings
-
-
- Observation pose
-
The “Observation pose” button allows to change the position from which the robot will record the workspace.
-
-
- Drop pose
-
The “Drop pose” button allows to change the position from which the robot drops the asked objects.
-
-
- Labelling
- Name:
- Labelling
-
The “name” selector allows you to pick an already existing object’s name in the database or a new object named “obj_x”.
-
-
-
- Name:
-
-
The “name” text entry allows you to pick the name of the object you want to add to the database. To add images to an existing object, use the selector or write the same name as the object in “name”.
-
-
-
- Add img
-
-
The “add img” allows you to add a picture of the actual workspace in the database under the “data//” directory.
When you add a new object to the database, we recommend you to take at least twenty pictures of it. The added objects must have a certain contrast with the workspace (we recommend to avoid white and highly reflective objects).
-
-
- Train
-
The “Train” button launches the training of the neural network with the actual content of the “data” folder. During all of the training, the interface won’t be usable (~1 to 10 minutes).
When the training’s over, the network will be saved in the Model folder and the interface will automatically be refreshed.
-
-
- Update
-
The “Update” button launches a scan of the “data”, “logo” and “data_mask” folders. Then, it refreshes the saved neural network in its model and updates each menu (similar to a program restart).
-
- Quit
OTHER FEATURES
- Replace the images in the “logo” folder with customized logos (black is used as a transparency color).
- Adds or removes images and folders in the database from a file management tool (use the “Update” button to ask the application to rescan the folders)
- Provided data sets:
- Two data sets based on the Celebration chocolates.
- A data set with 212 images which allows you to train a model with 85 / 90% accuracy (1 to 3 minutes of training)
- A data set with 963 images which allows you to train a model with 95 / 99.5% accuracy (1 to 15 minutes of training)
Launching the program
Launch “run.bat” (Windows only) or enter the command “python3 robot_gui.py”.
Assure you to be in an environment having TensorFlow as well as the necessary Python libraries (“conda activate tf_niryo_one”).
| (base) Usersuser> conda activate tf_niryo_one
(tf_niryo_one) Usersuser> |
FAQ
The IA’s predictions don’t appear:

If the artificial intelligence’s predictions do not appear on the screen, it is probably because:
- Your model is not yet trained for this database. In that case, click on “Train” in the Settings.
- The saved model does not match the objects currently in your data file. In that case, you can put the data folder in the same configuration as in the last training and click on update.
Wrong prediction:
If the workspace’s observation angle is too different from the one in the database, then the results might not be correct anymore.
If an object is often mistaken with another one, try to add more images of these two objects in the database.
Get the program on Github to use TensorFlow with the Niryo One