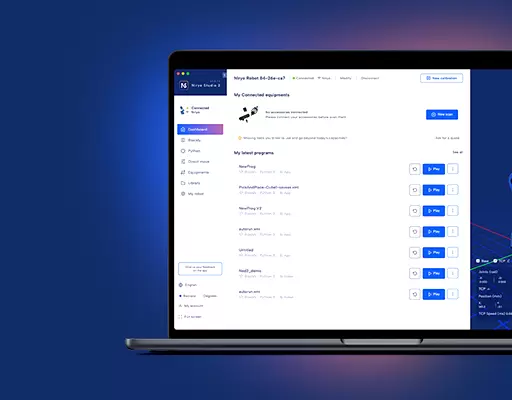
From version 2.2.0 of Niryo One Studio, you can change the language inside the application.
We also designed the translation mechanism so that it’s possible for you to add your own language. As for the 2.2.0 release, only English and French are supported, maybe more will come soon, but we won’t be able to translate and maintain every language existing in this world.
So… If you want to use the application (for you, your students, …) in your local language, here are the steps you need to follow.
Note: no programming knowledge is required, you just need to know how to create/edit a text file.
Find the translation files
All the files needed for translation are located in one folder inside the Niryo One Studio application.
- Download the application from our website.
- Unzip the archive, you’ll get a folder containing Niryo One Studio.
- Inside this folder, go to “resources” > “app” > “app” > “assets” > “i18n”.
Inside this “i18n” folder, you’ll have those files:
- _TO_READ_FIRST.txt. As it name suggests, we recommend you read that first.
- _languages.json: this file will define what languages will be available in Niryo One Studio, and also which language will be set by default when you open the app.
- And then you have one file per language, containing all translations for the app.
Note: the “i18n” folder with translation files is the same no matter what OS you have (Windows, Linux, Mac, though on Mac the “resources” folder is inside a “Contents” folder, so you have one more layer).
Add your language
First read the _TO_READ_FIRST.txt, this gives you an example of what to do when adding a new language.
Create a new language file
Add a file named your_language.json inside the “i18n/” folder you just found in the previous step. In fact, it’s better to use the common abbreviation for your language instead of the full name. For example: English -> en.
Copy all the content from en.json and copy it into your new file. Then (this is what takes the most time in the process), translate all strings (but don’t change the UPPERCASE_NAMES, only change the strings on the right side!)
Enable your language
Once it’s done, save your file and open the _language.json file. Add your language name (the abbreviation you used to create your file, without the “.json”) into the “supported_languages” array.
If you want to make your language default, so that the app launches directly with your language and you don’t have to manually select it each time, replace “en” by your language in the “default_language” field.
Now, to check if it works, just start Niryo One Studio!
Backup for next releases
Don’t forget to save what you’ve done and back it up somewhere, so in case we publish a new release, you can add your own language files again (you might have a few additional translations to do).
Recap – example
Let’s say you want to add Italian language for Niryo One Studio:
- Create “it.json” file inside “i18n” folder
- Copy the content from en.json to it.json
- Translate all the strings (right side)
- Open _languages.json and add your language (“it”)
- (Optional) Still in _languages.json, change default language to “it”
- Open Niryo One Studio and that’s it!


