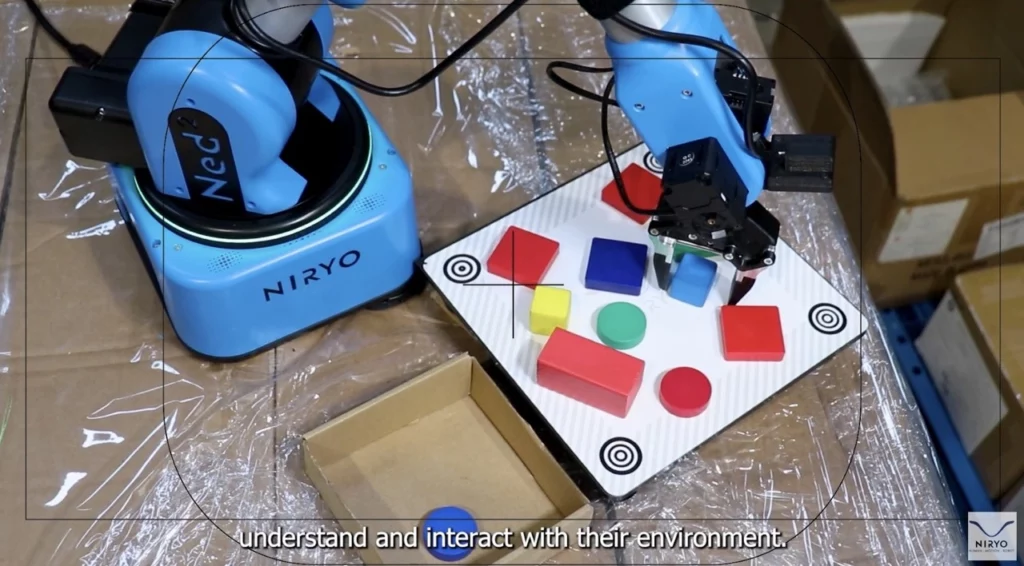
This article will help you discover one of the multiple applications of Ned2 along with the Vision Set.
We’ll start with an easy process : how to pick an object from a working area and conditioning it in a packing area.
Before we start, first, make sure you are familiar with Python, Ned2, the Vision Set’s User Manual and the PyNiryo library documentation,
And don’t forget to prepare your material! you’ll need a Ned2, a Vision Set and install Niryo’s library on your computer.
Ready, set, go!
Before you run the application, please ensure that you’ve changed the following variables: robot_ip_address, tool_used and workspace_name.
Ned’s mission consists of picking an object from the Workspace and placing them in the packaging area.
In order to achieve this mission, two scenarios are possible. Either, Ned2’s Vision Set detects the objects placed in the workspace area and picks them, or, the vision process occurs on the computer screen, where the objects will be conditioned in a grid of dimensions. Once the grid is completed, objects will be packed over the lower level.
What are the variables used for?
If you wish to design your environment, you can simply modify the following variables:
- Grid dimension: to modify the number of grid’s cells.
- Vision process on robot: it’s a boolean (True/False) to indicate whether or not to use the robot process in order to detect the object on the workspace.
- Display stream: Activate the camera screening on Niryo Studio. Another boolean used to choose to activate or deactivate the camera screening on Niryo Studio. Please note that this variable only works when the “Vision process on robot” is False.
On the other hand, in order to adapt the application perfectly to your environment, you can modify the “pose” variables, and set it to either observation, center conditioning or sleep.


