 Sign in


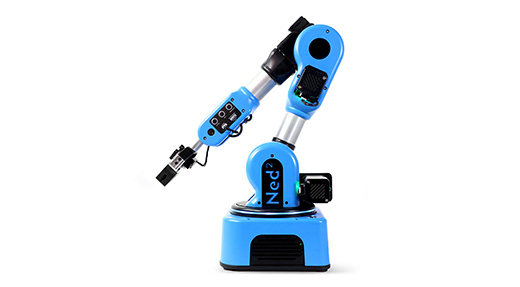
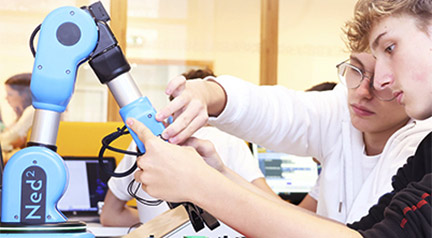
It becomes kids friendly to program your robot. Control your robot without programmation system with smooth and precise movement
0

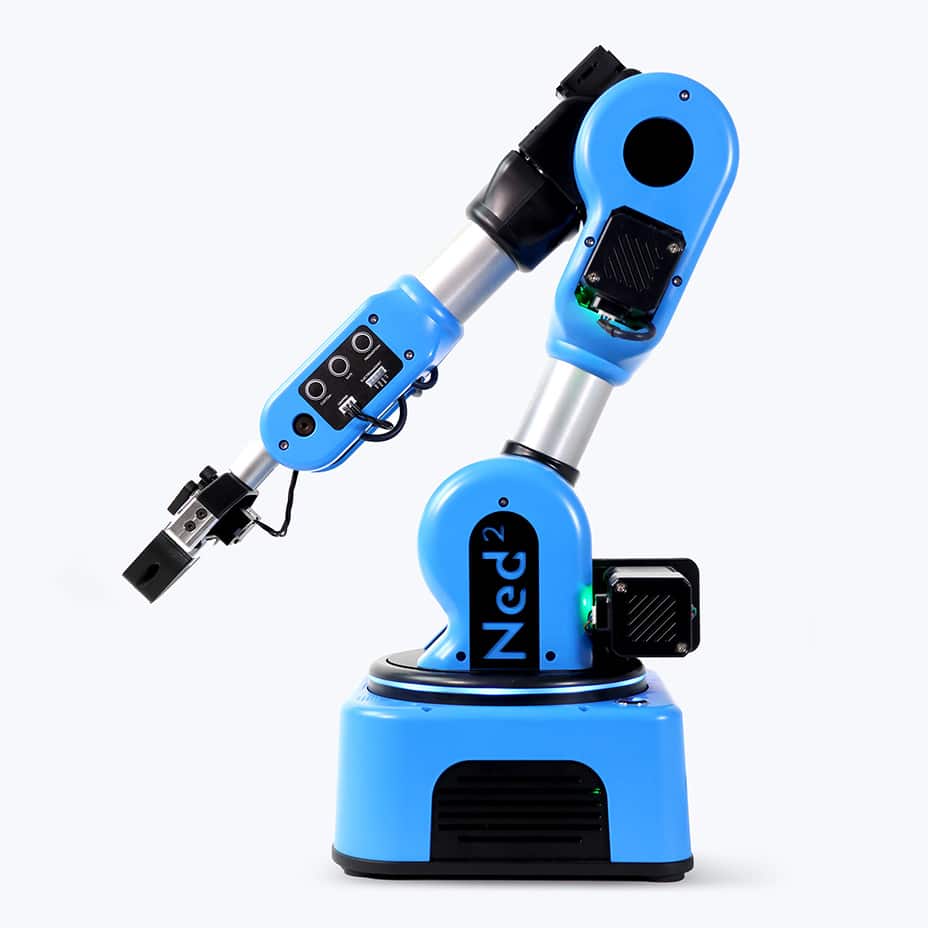


 300g payload
  ±0.5mm accuracy
  Reach 49cm/Ø1m
  1 year warranty
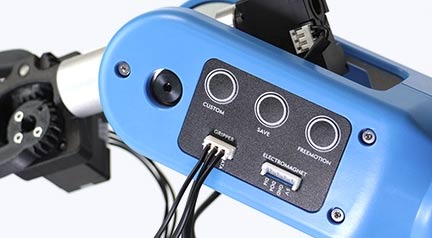
It becomes kids friendly to program your robot. Control your robot without programmation system with smooth and precise movement
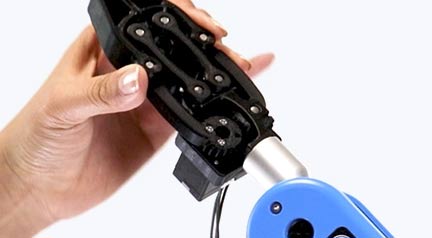
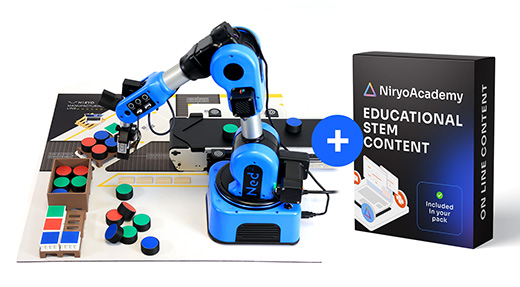
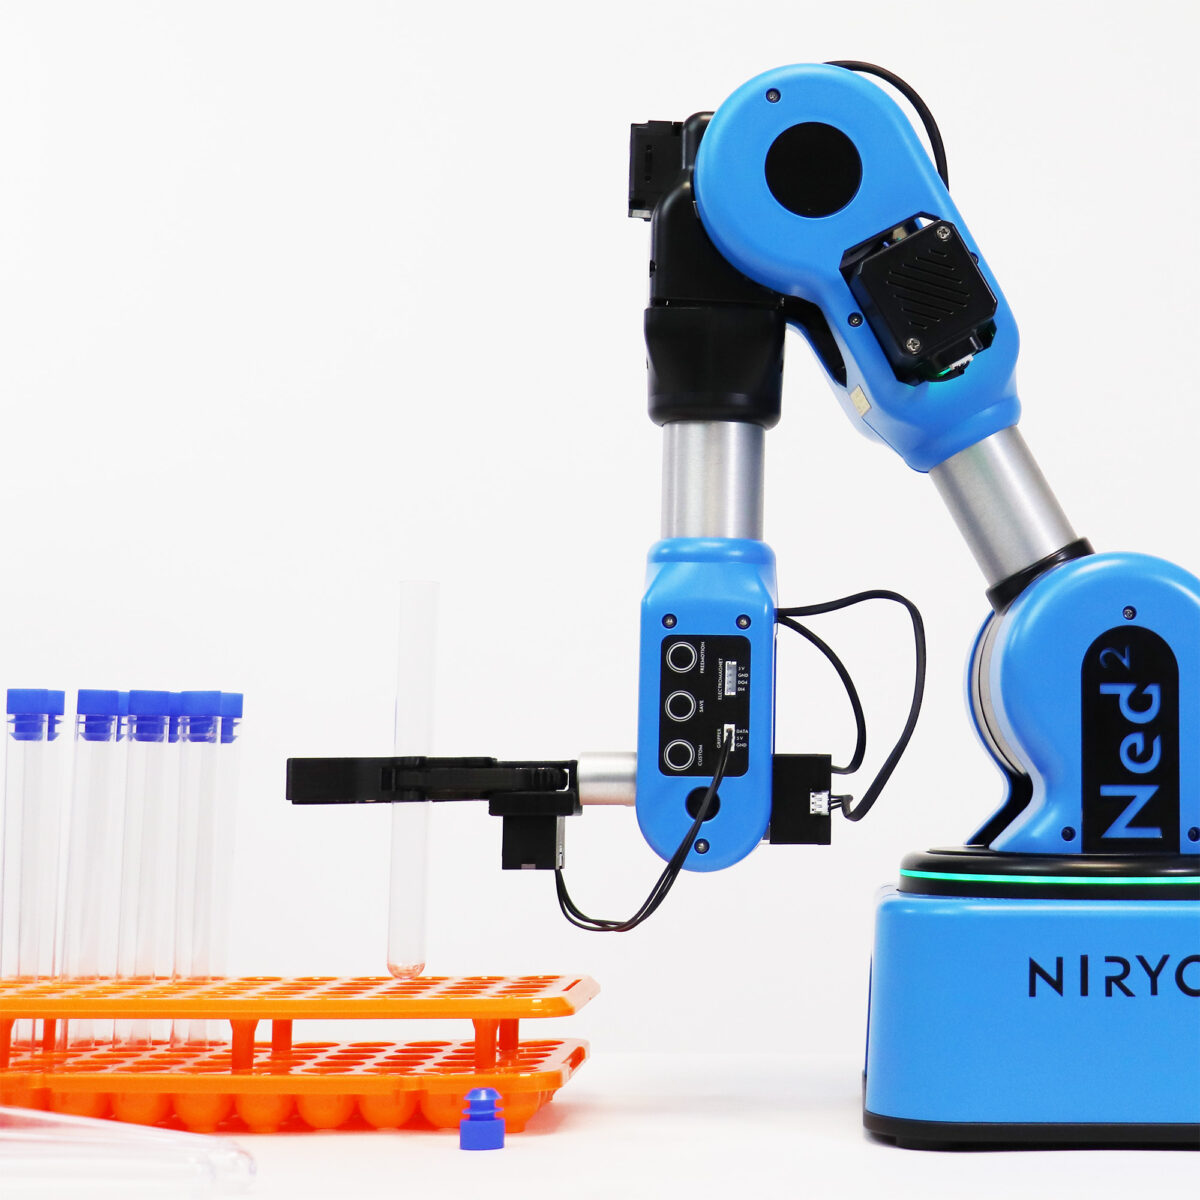
Plug & play solution with a magnet system “easy connect” to plug your grippers in few seconds
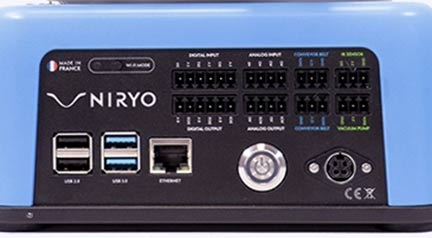
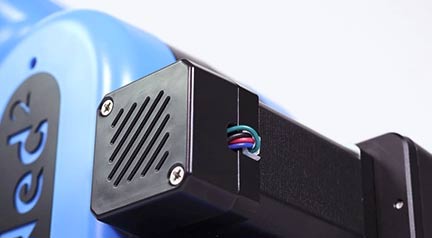
Connect your accessories and infinite number of sensors to leave room for your most complex projects.
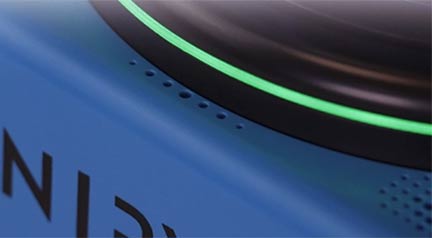
Easy way to understand current statement and situations of your robot with intuitive ledring colors
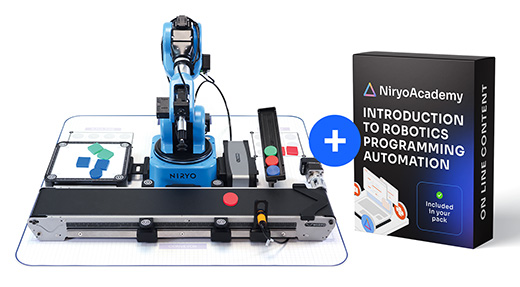
Teach, work and learn with silent steppers. Perfect to stay focus and practise with confort during hours.
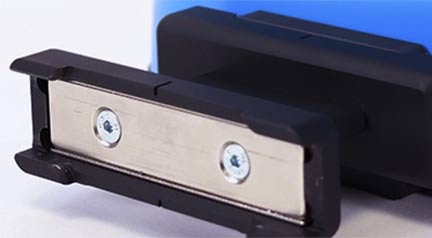
Customize your ecosystem without loosing precision and robutness with snaplink magnet system
Software and hardware solutions for robotics and AI.
Software for robot simulation and programming.
Open-source library for visual block programming.

Open-source framework for robot software development.
Library for controlling Niryo robots.
Open-source framework used in robotics for machine learning tasks.
Open-source library for computer vision and image processing.
Proprietary programming environment and language used extensively in robotics for numerical simulation.
Programming language known for its simplicity and versatility in various applications, including robotics.
Software and hardware solutions for robotics and AI.
Software for robot simulation and programming.
Open-source library for visual block programming.
Open-source framework for robot software development.
Library for controlling Niryo robots.
Open-source framework used in robotics for machine learning tasks.
Open-source library for computer vision and image processing.
Proprietary programming environment and language used extensively in robotics for numerical simulation.
Programming language known for its simplicity and versatility in various applications, including robotics.