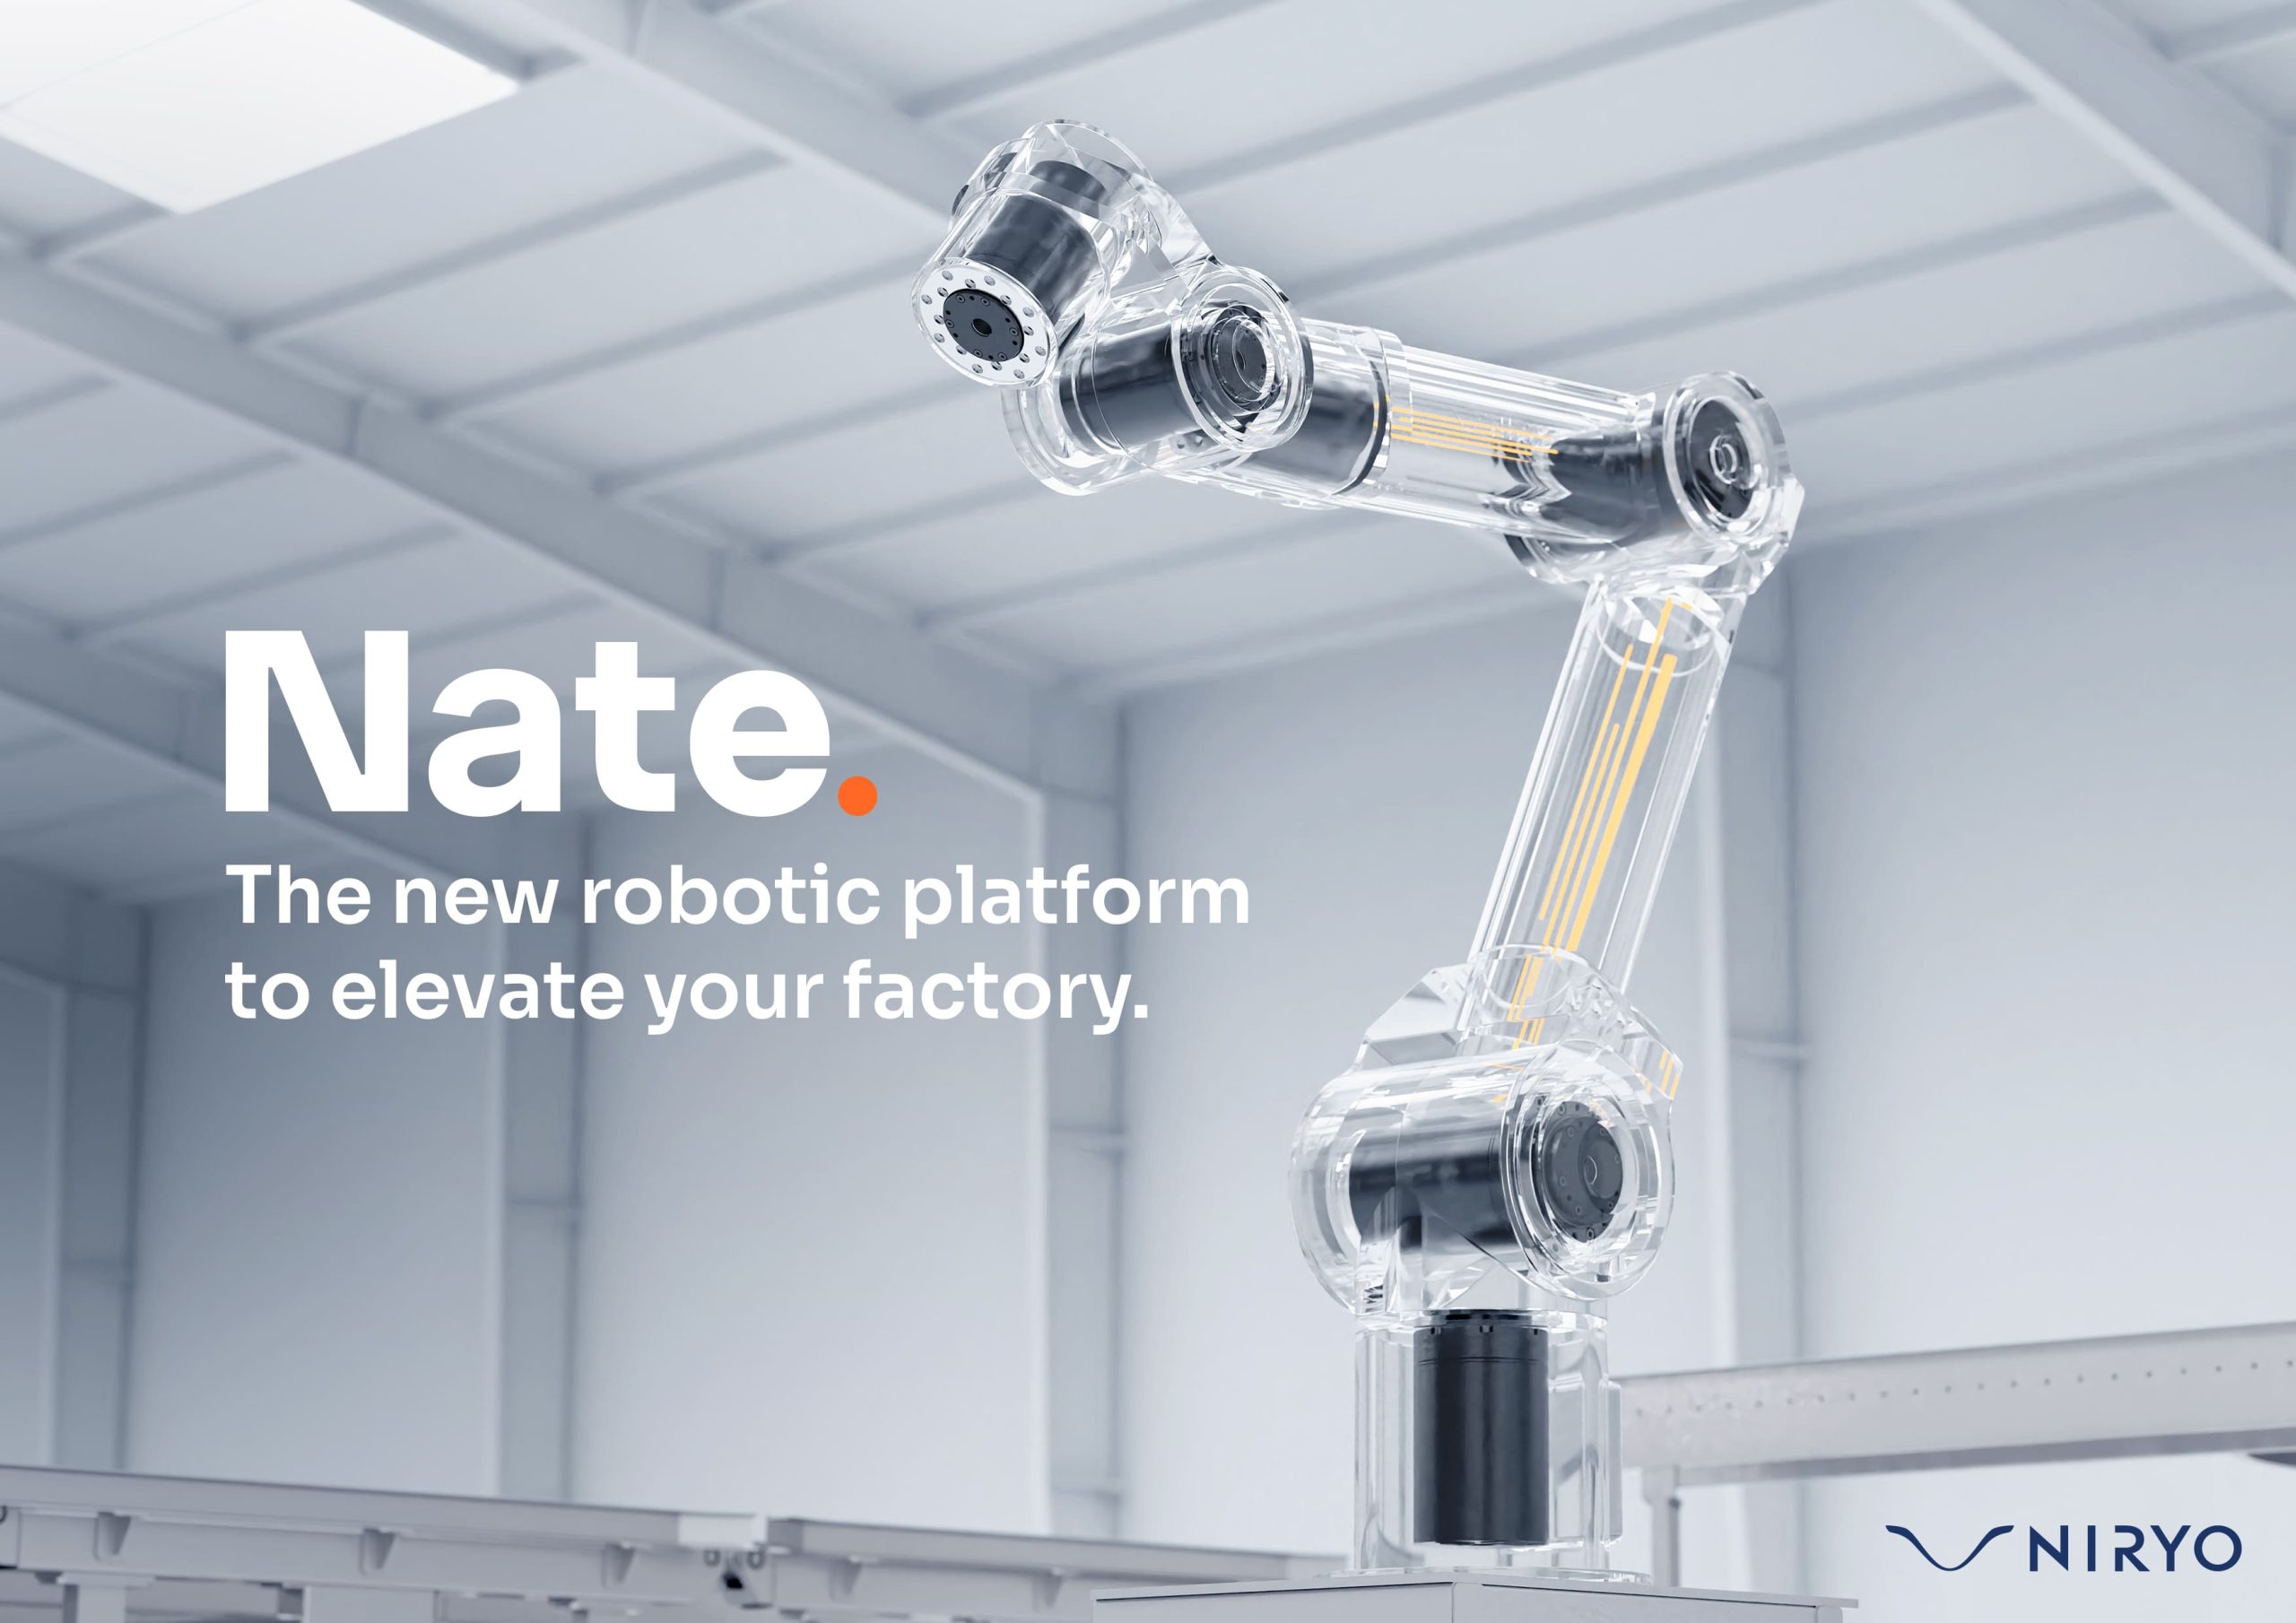
NATE PLATFORM
Designed for Industry
Build and deploy industrial automation solutions. Designed for manufacturers, system integrators and OEMs.
Smart Machines
Robots
Actuators
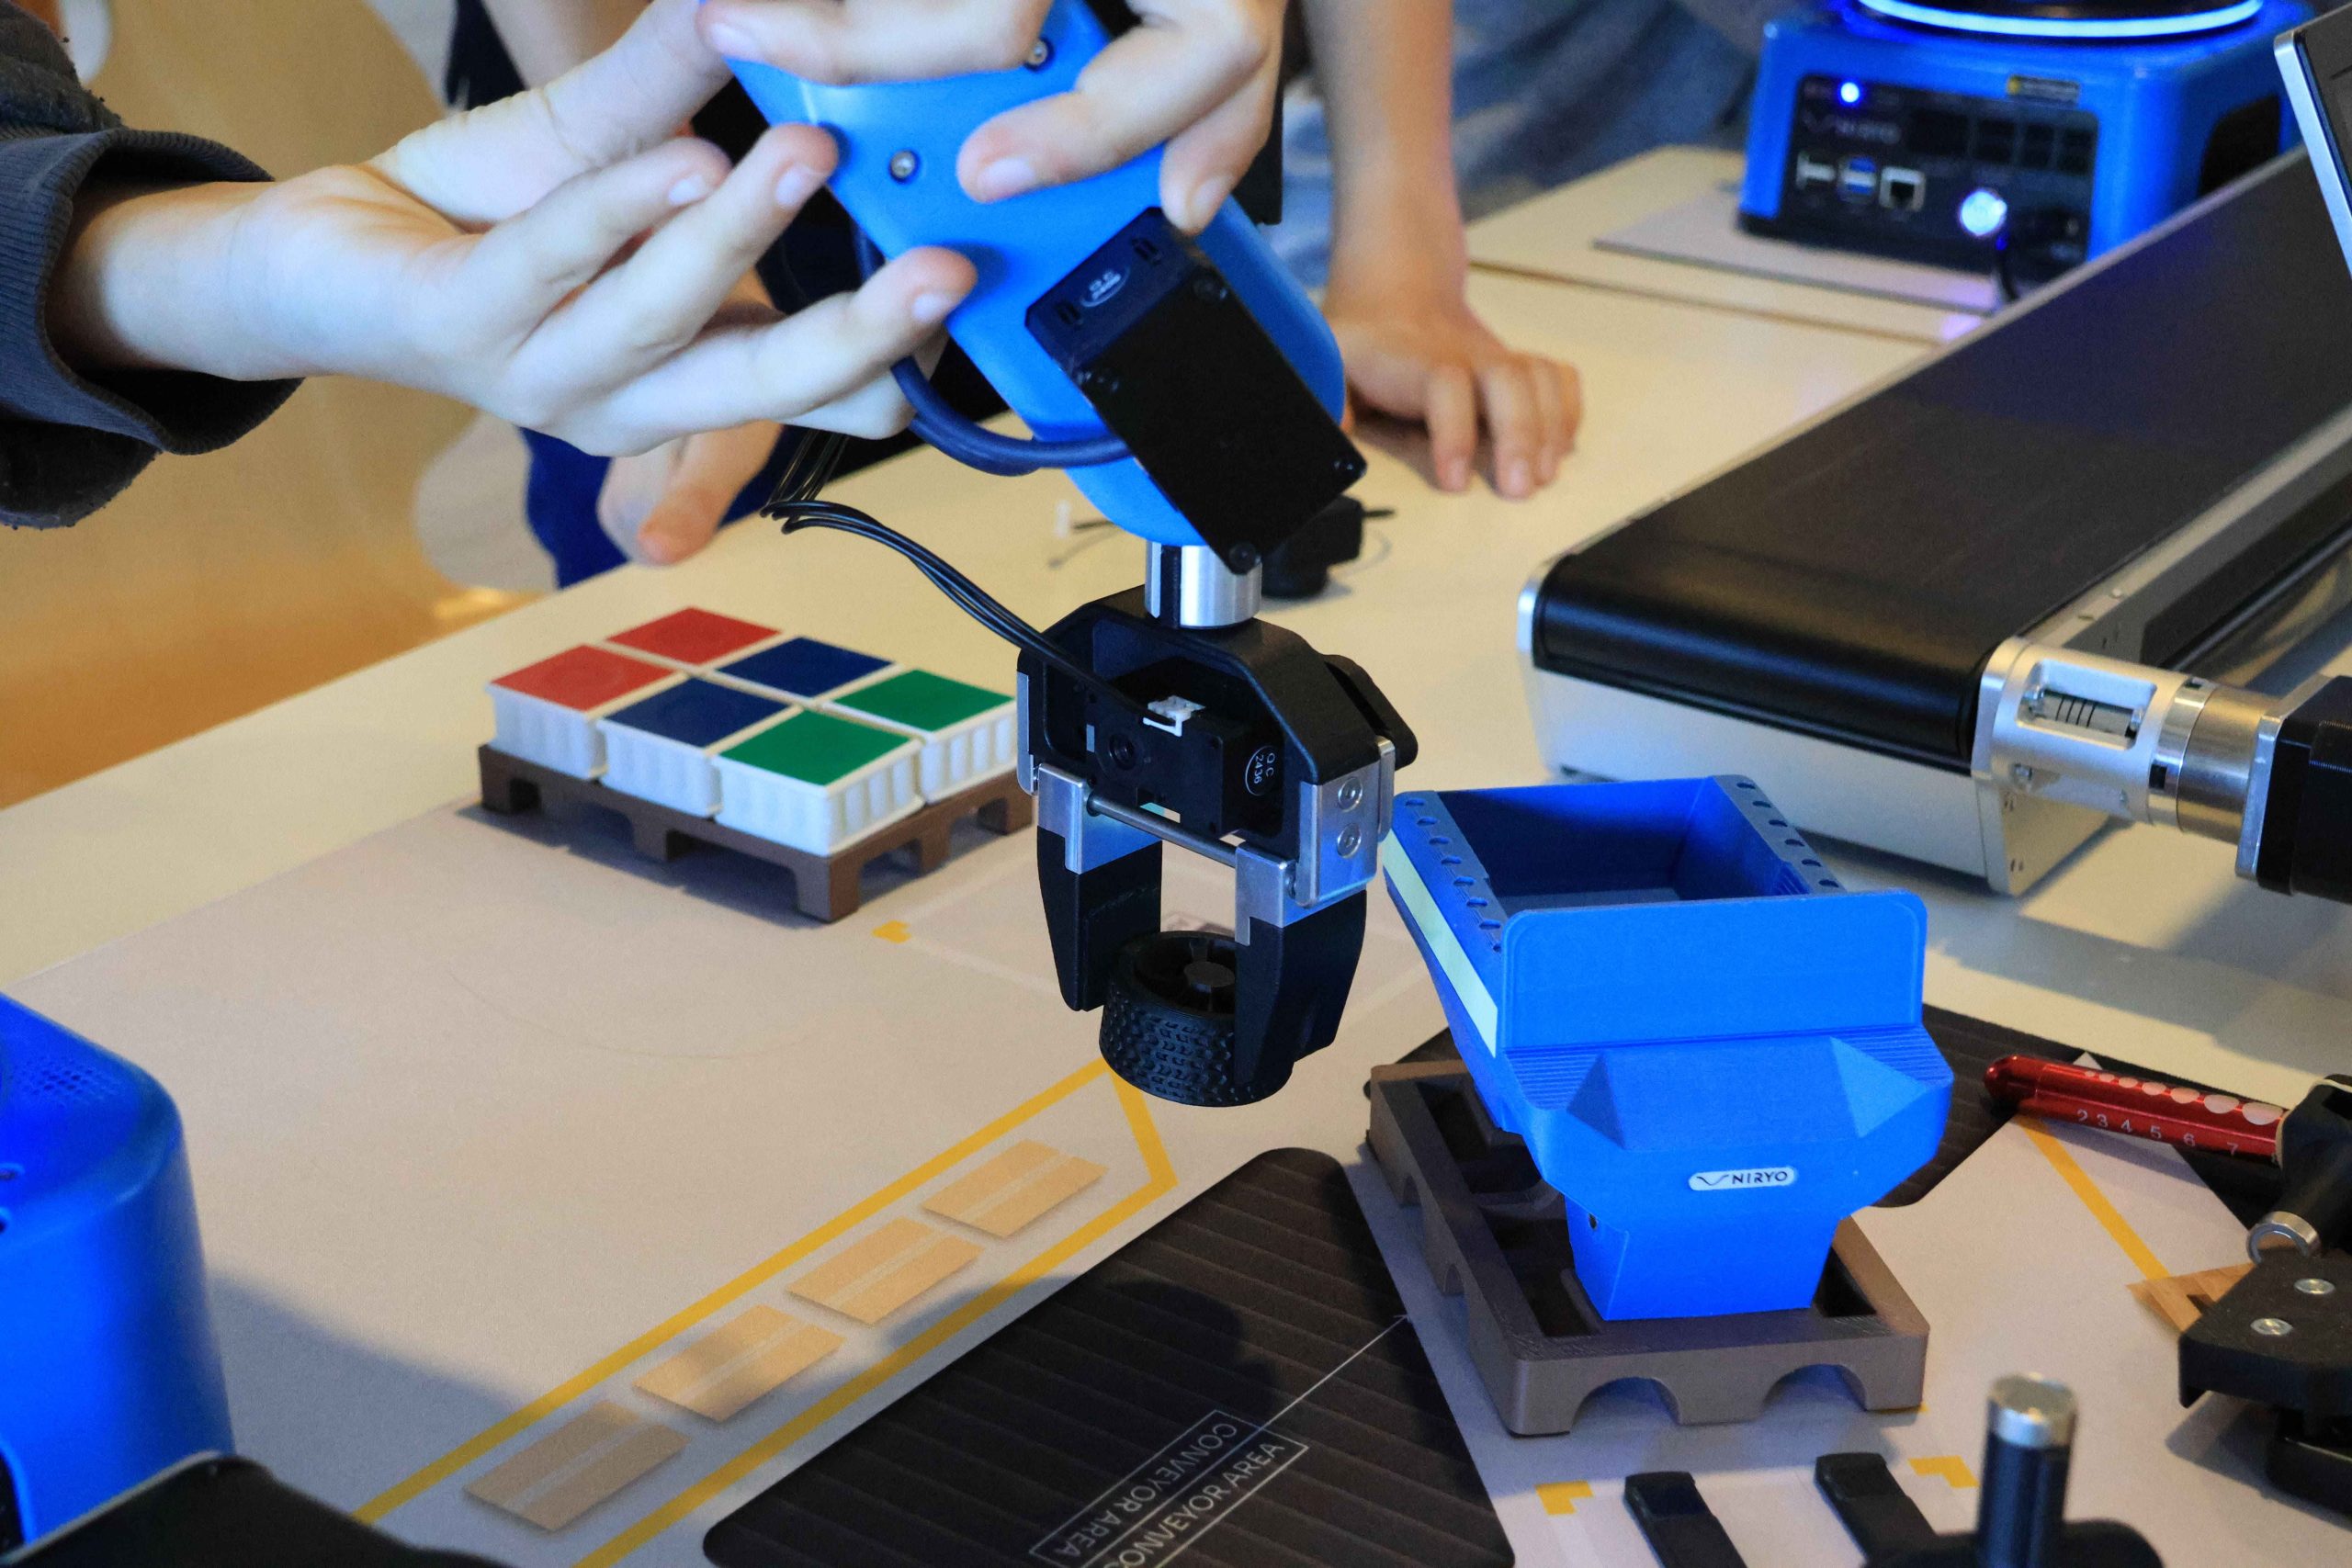
Grippers
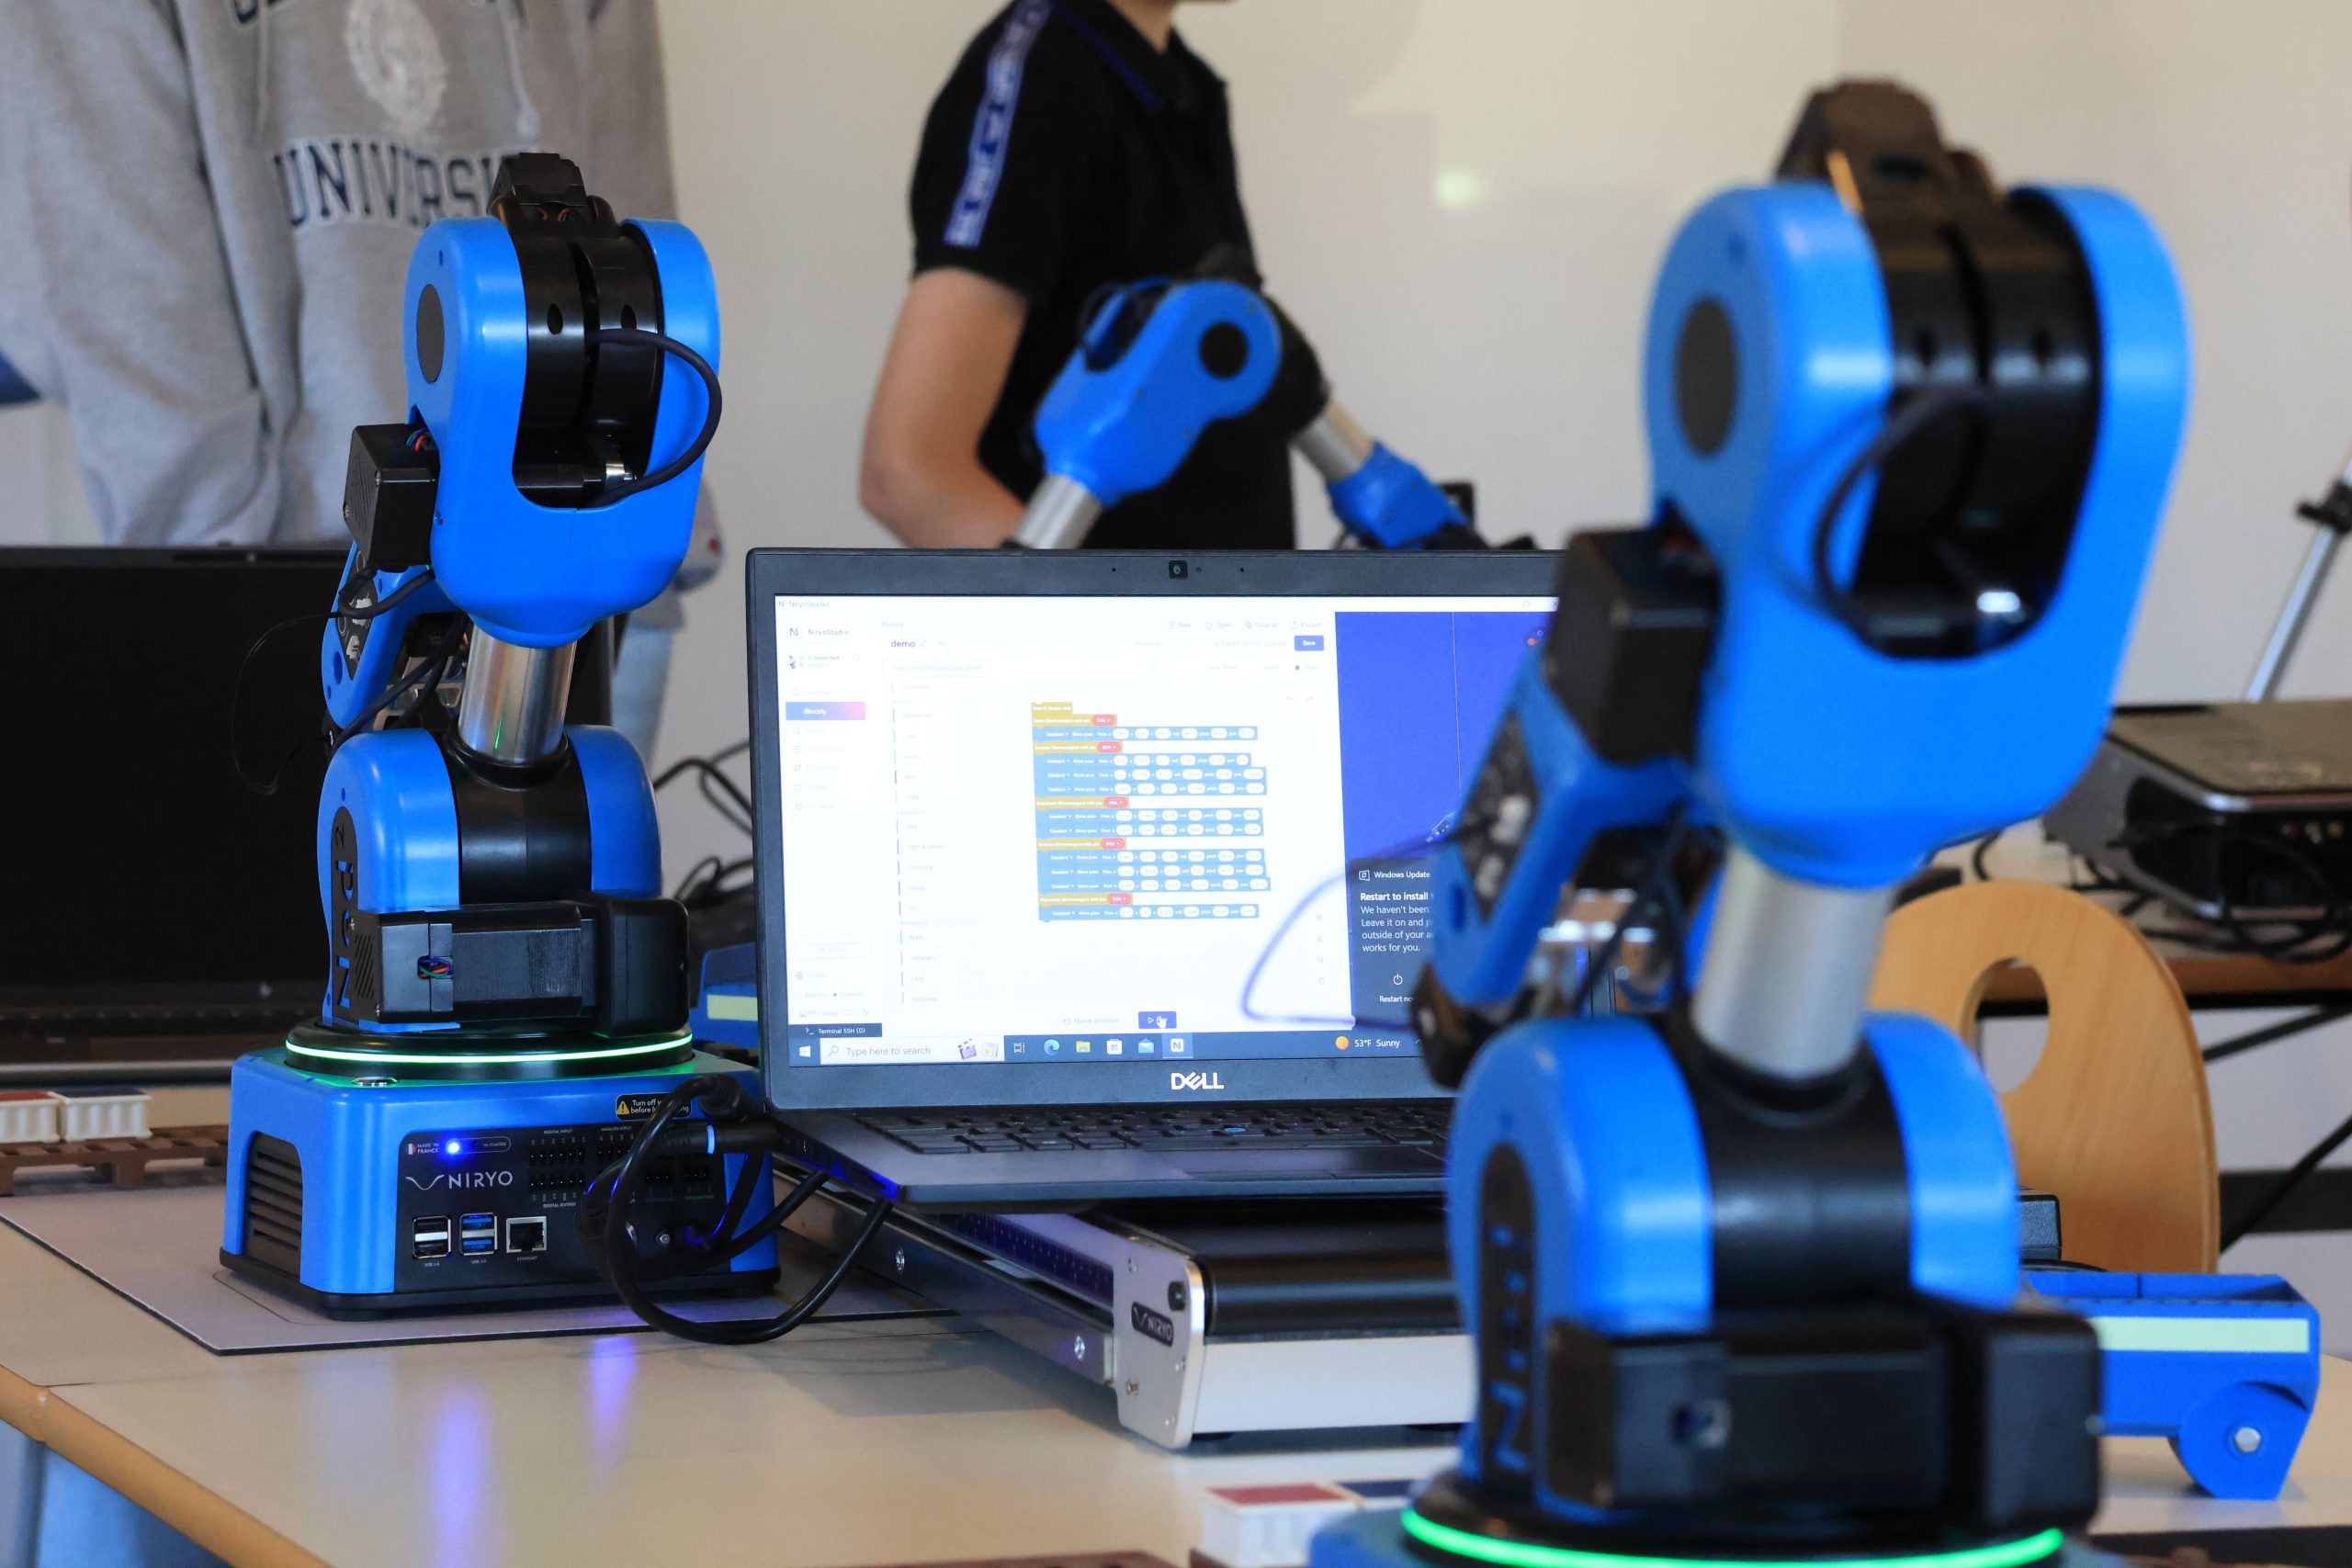
NiryoStudio for Nate
Discover Nate Platform
NED PLATFORM
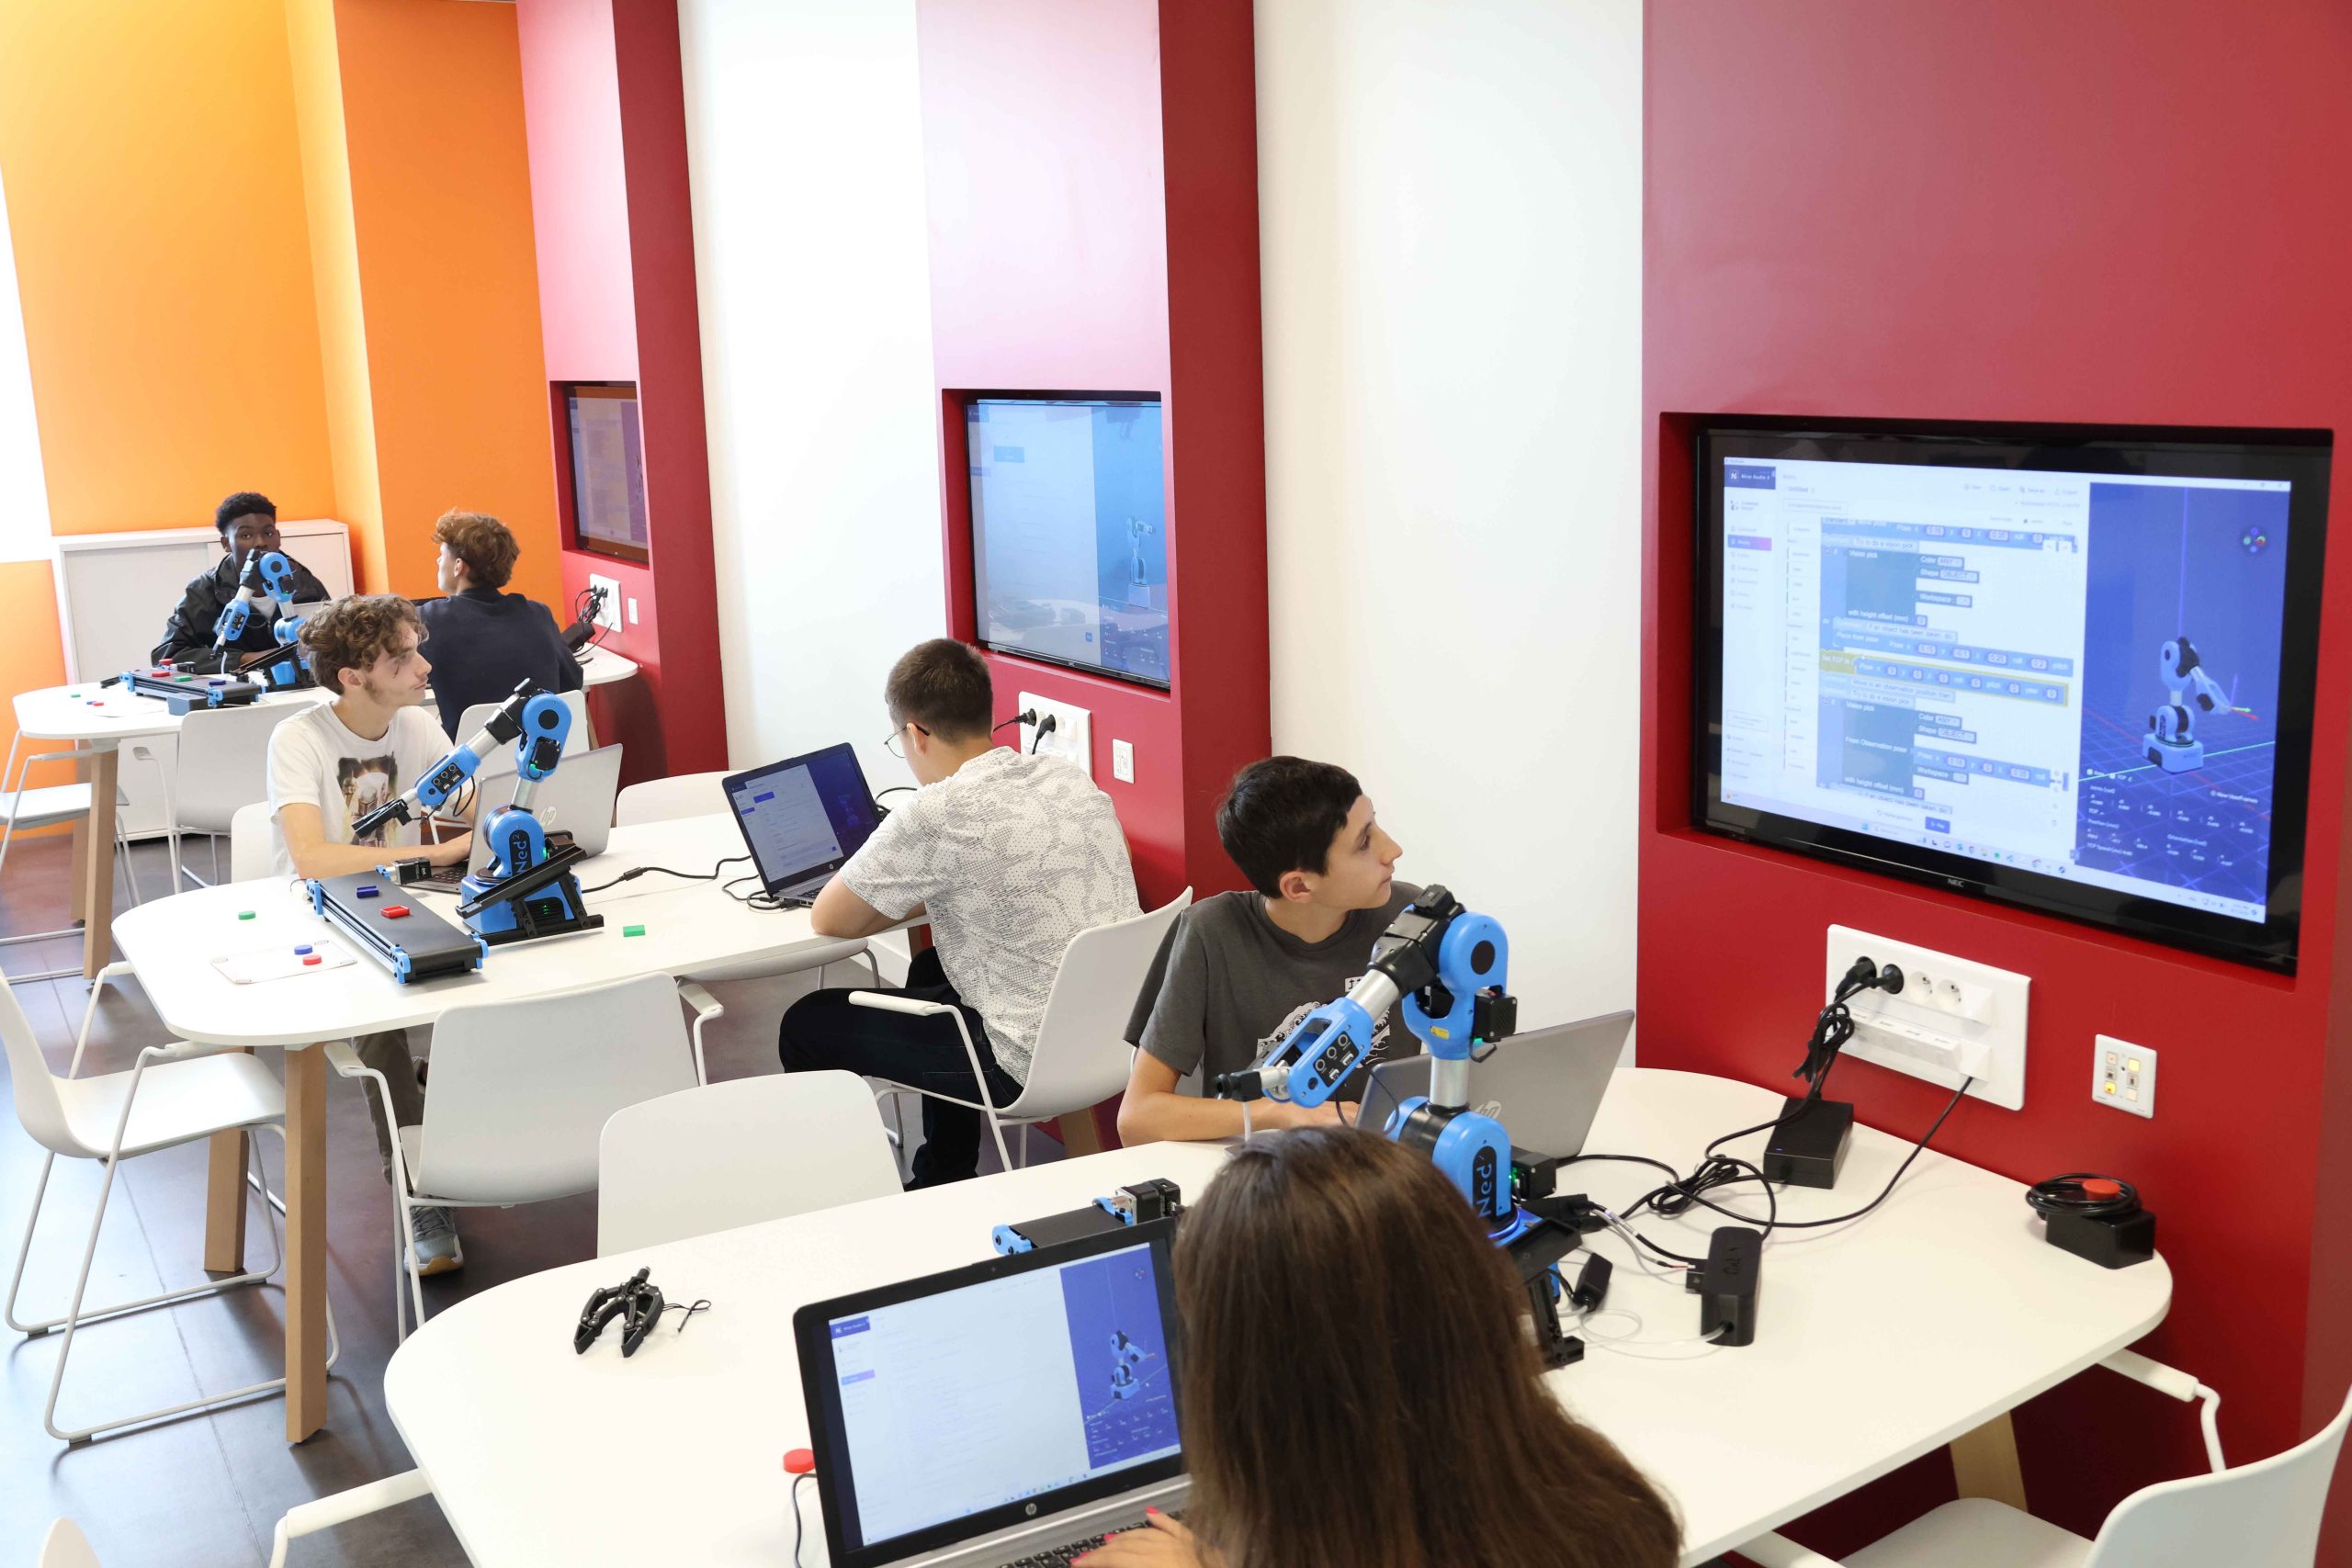
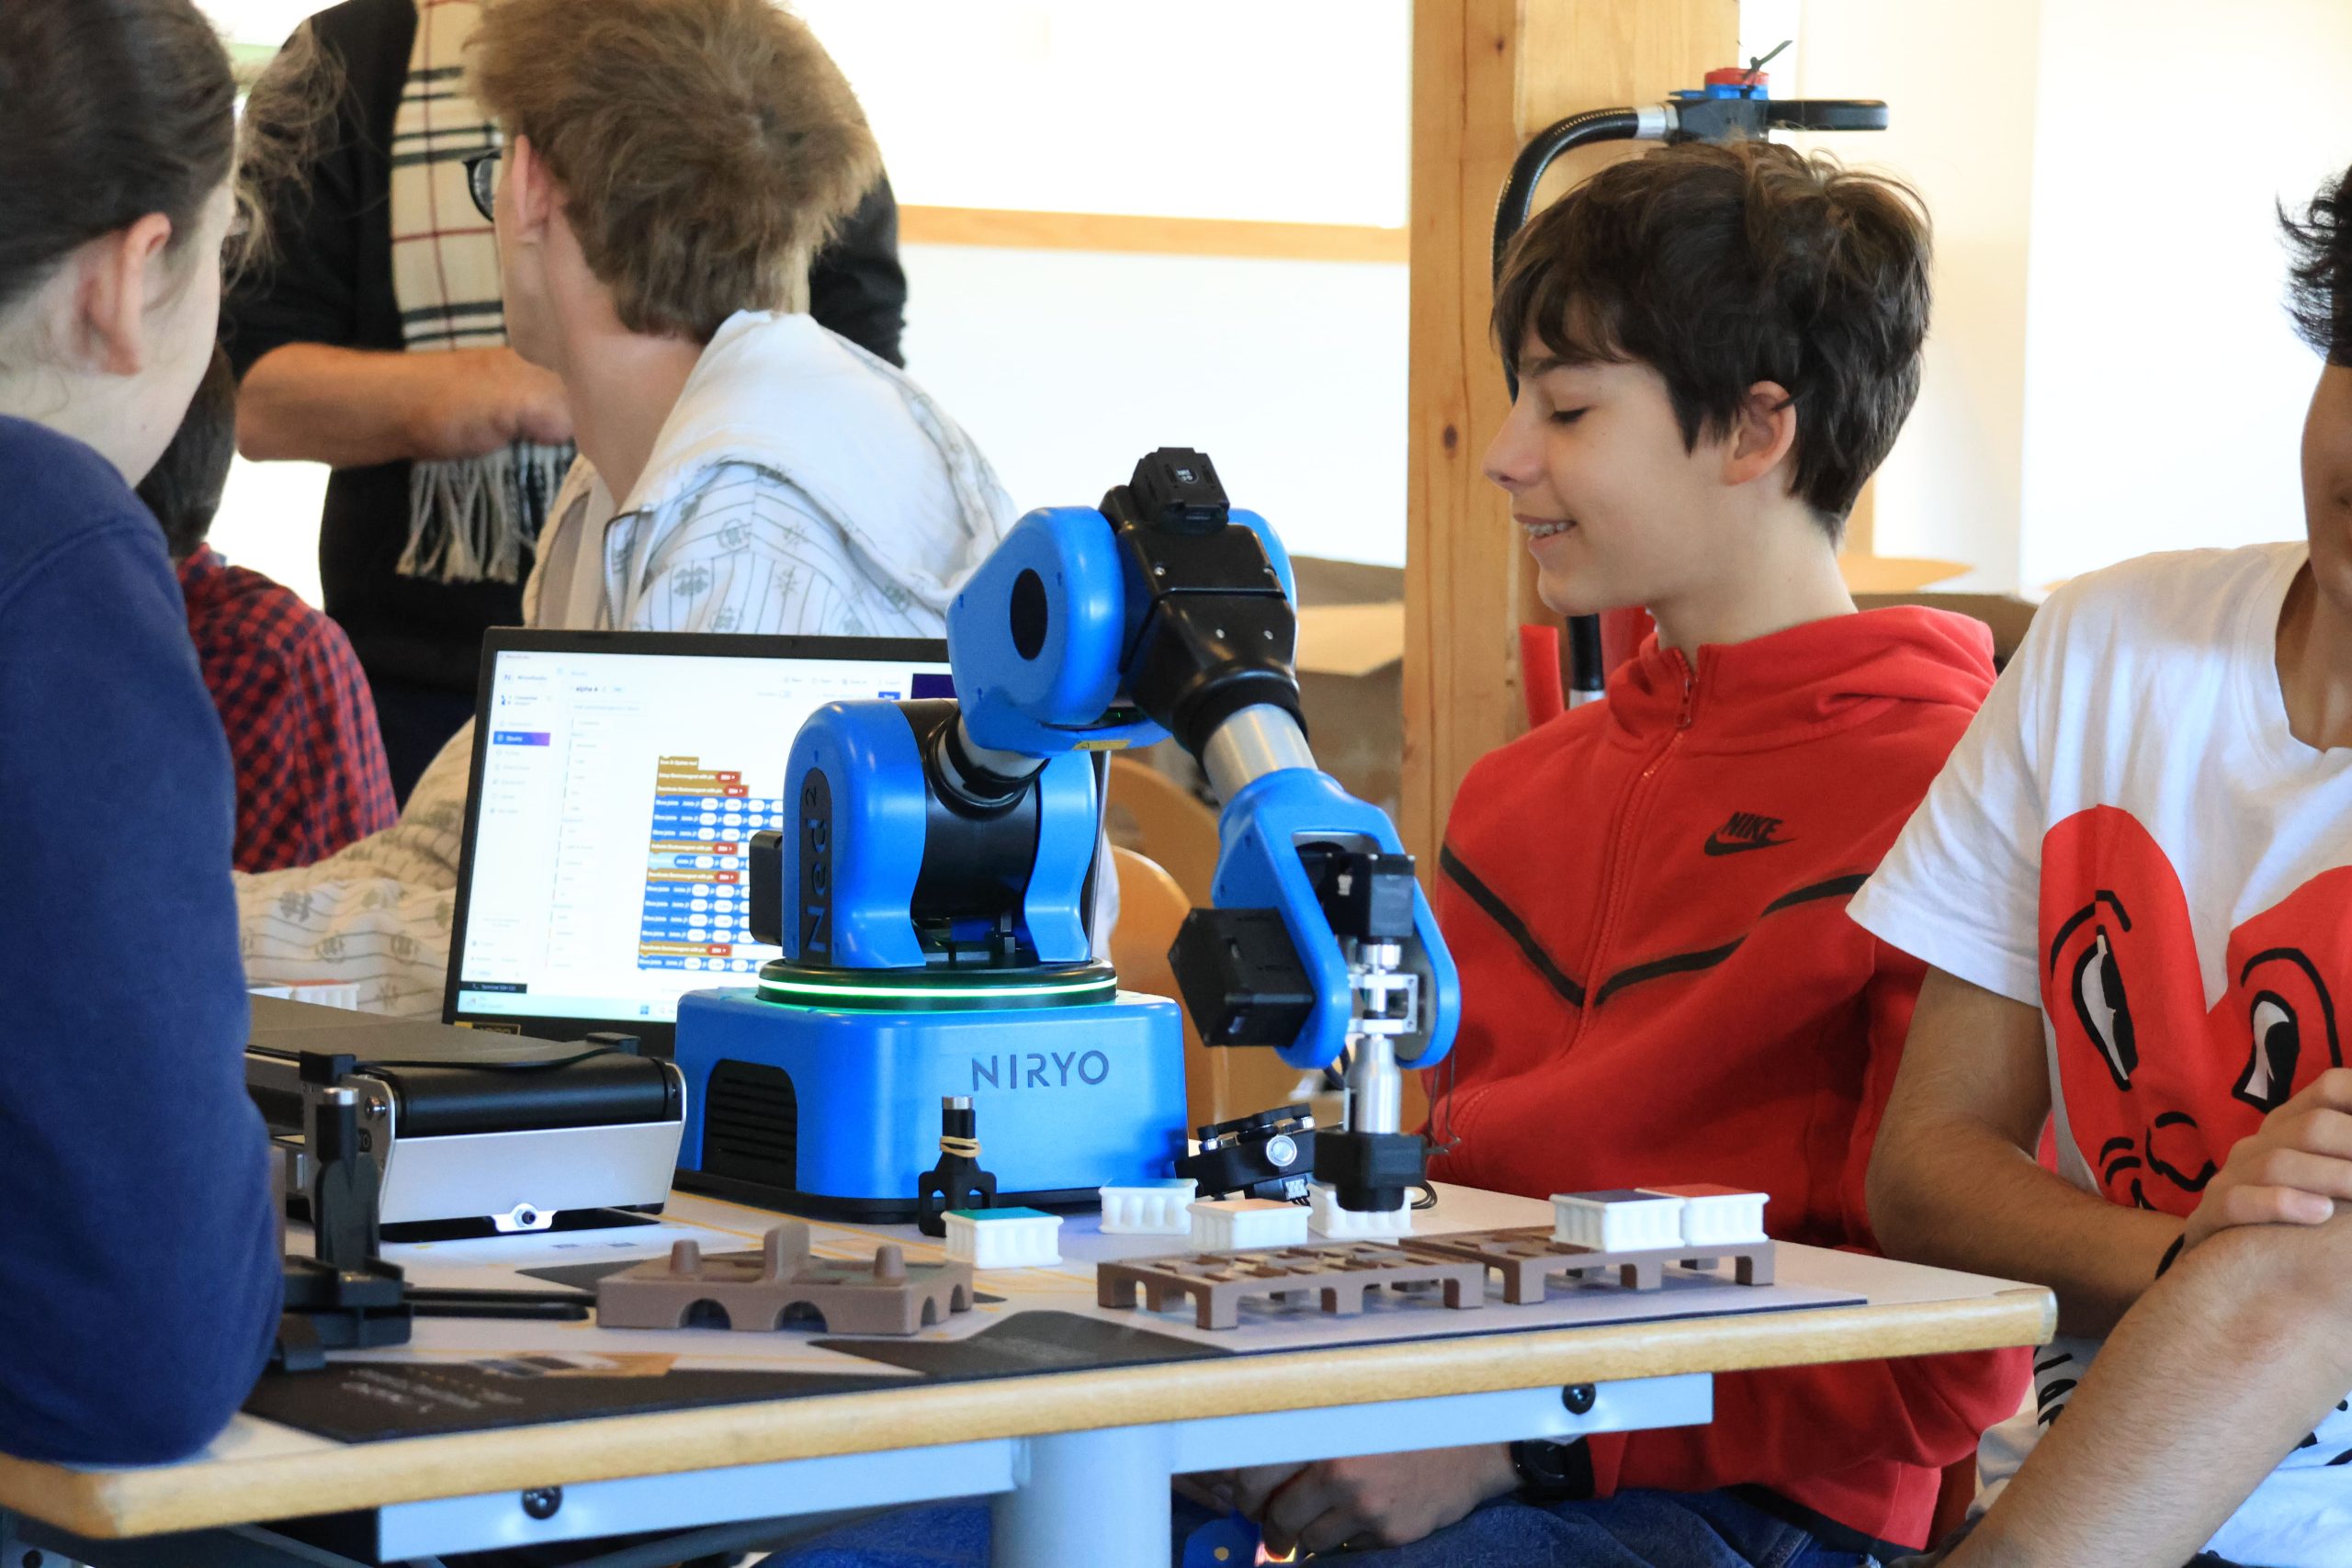
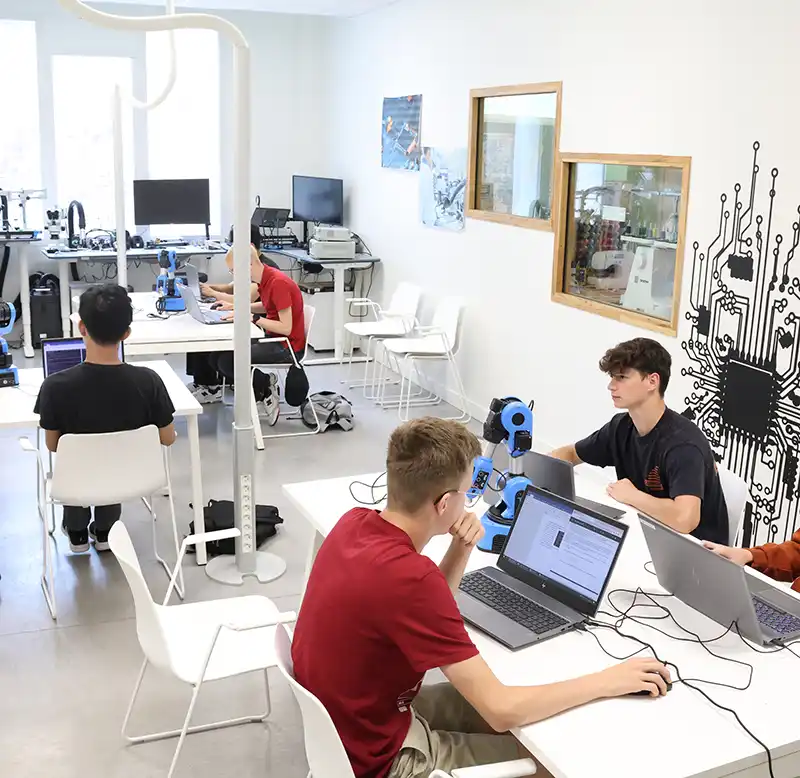
Designed for Education
Teach robotics and automation through hands-on learning. Designed for educators, students and researcher.
Packages
Accessories
NiryoStudio for Ned
NEW — Nate.Platform the robotic platform to elevate your factory
Discover
INDUSTRIAL SECTORS
Laboratory
Logistics and copacking
Agri-food
All sectors
SERVICES
Niryo Success for industry
Free support to make your project a success.
Niryo Integration
Tailor-made automation of your processes.
CUSTOMER STORIES
Read their stories
From challenge to deployment: discover how our customers create value with Niryo.
Vocational schools / Community Colleges
Bachelor / Master
All levels
Niryo Success for education
Niryo Expert+ for education
Expert support to maximize your performance.
NiryoAcademy
Tailor-made resources, adapted to your learning objectives.
USE CASES
See education in action
Practical applications that bridge theory and industrial robotics experience.
USEFUL RESOURCES
Download Center
FAQs
Blog
Documentation
Software for designing and deploying robotic applications
Simplified programming with Blockly and Python.
KNOW EVERYTHING
About Niryo
Everything you need to know about Niryo
Career
Join the Niryo team
Become a distributor
Join the distributors who trust us.
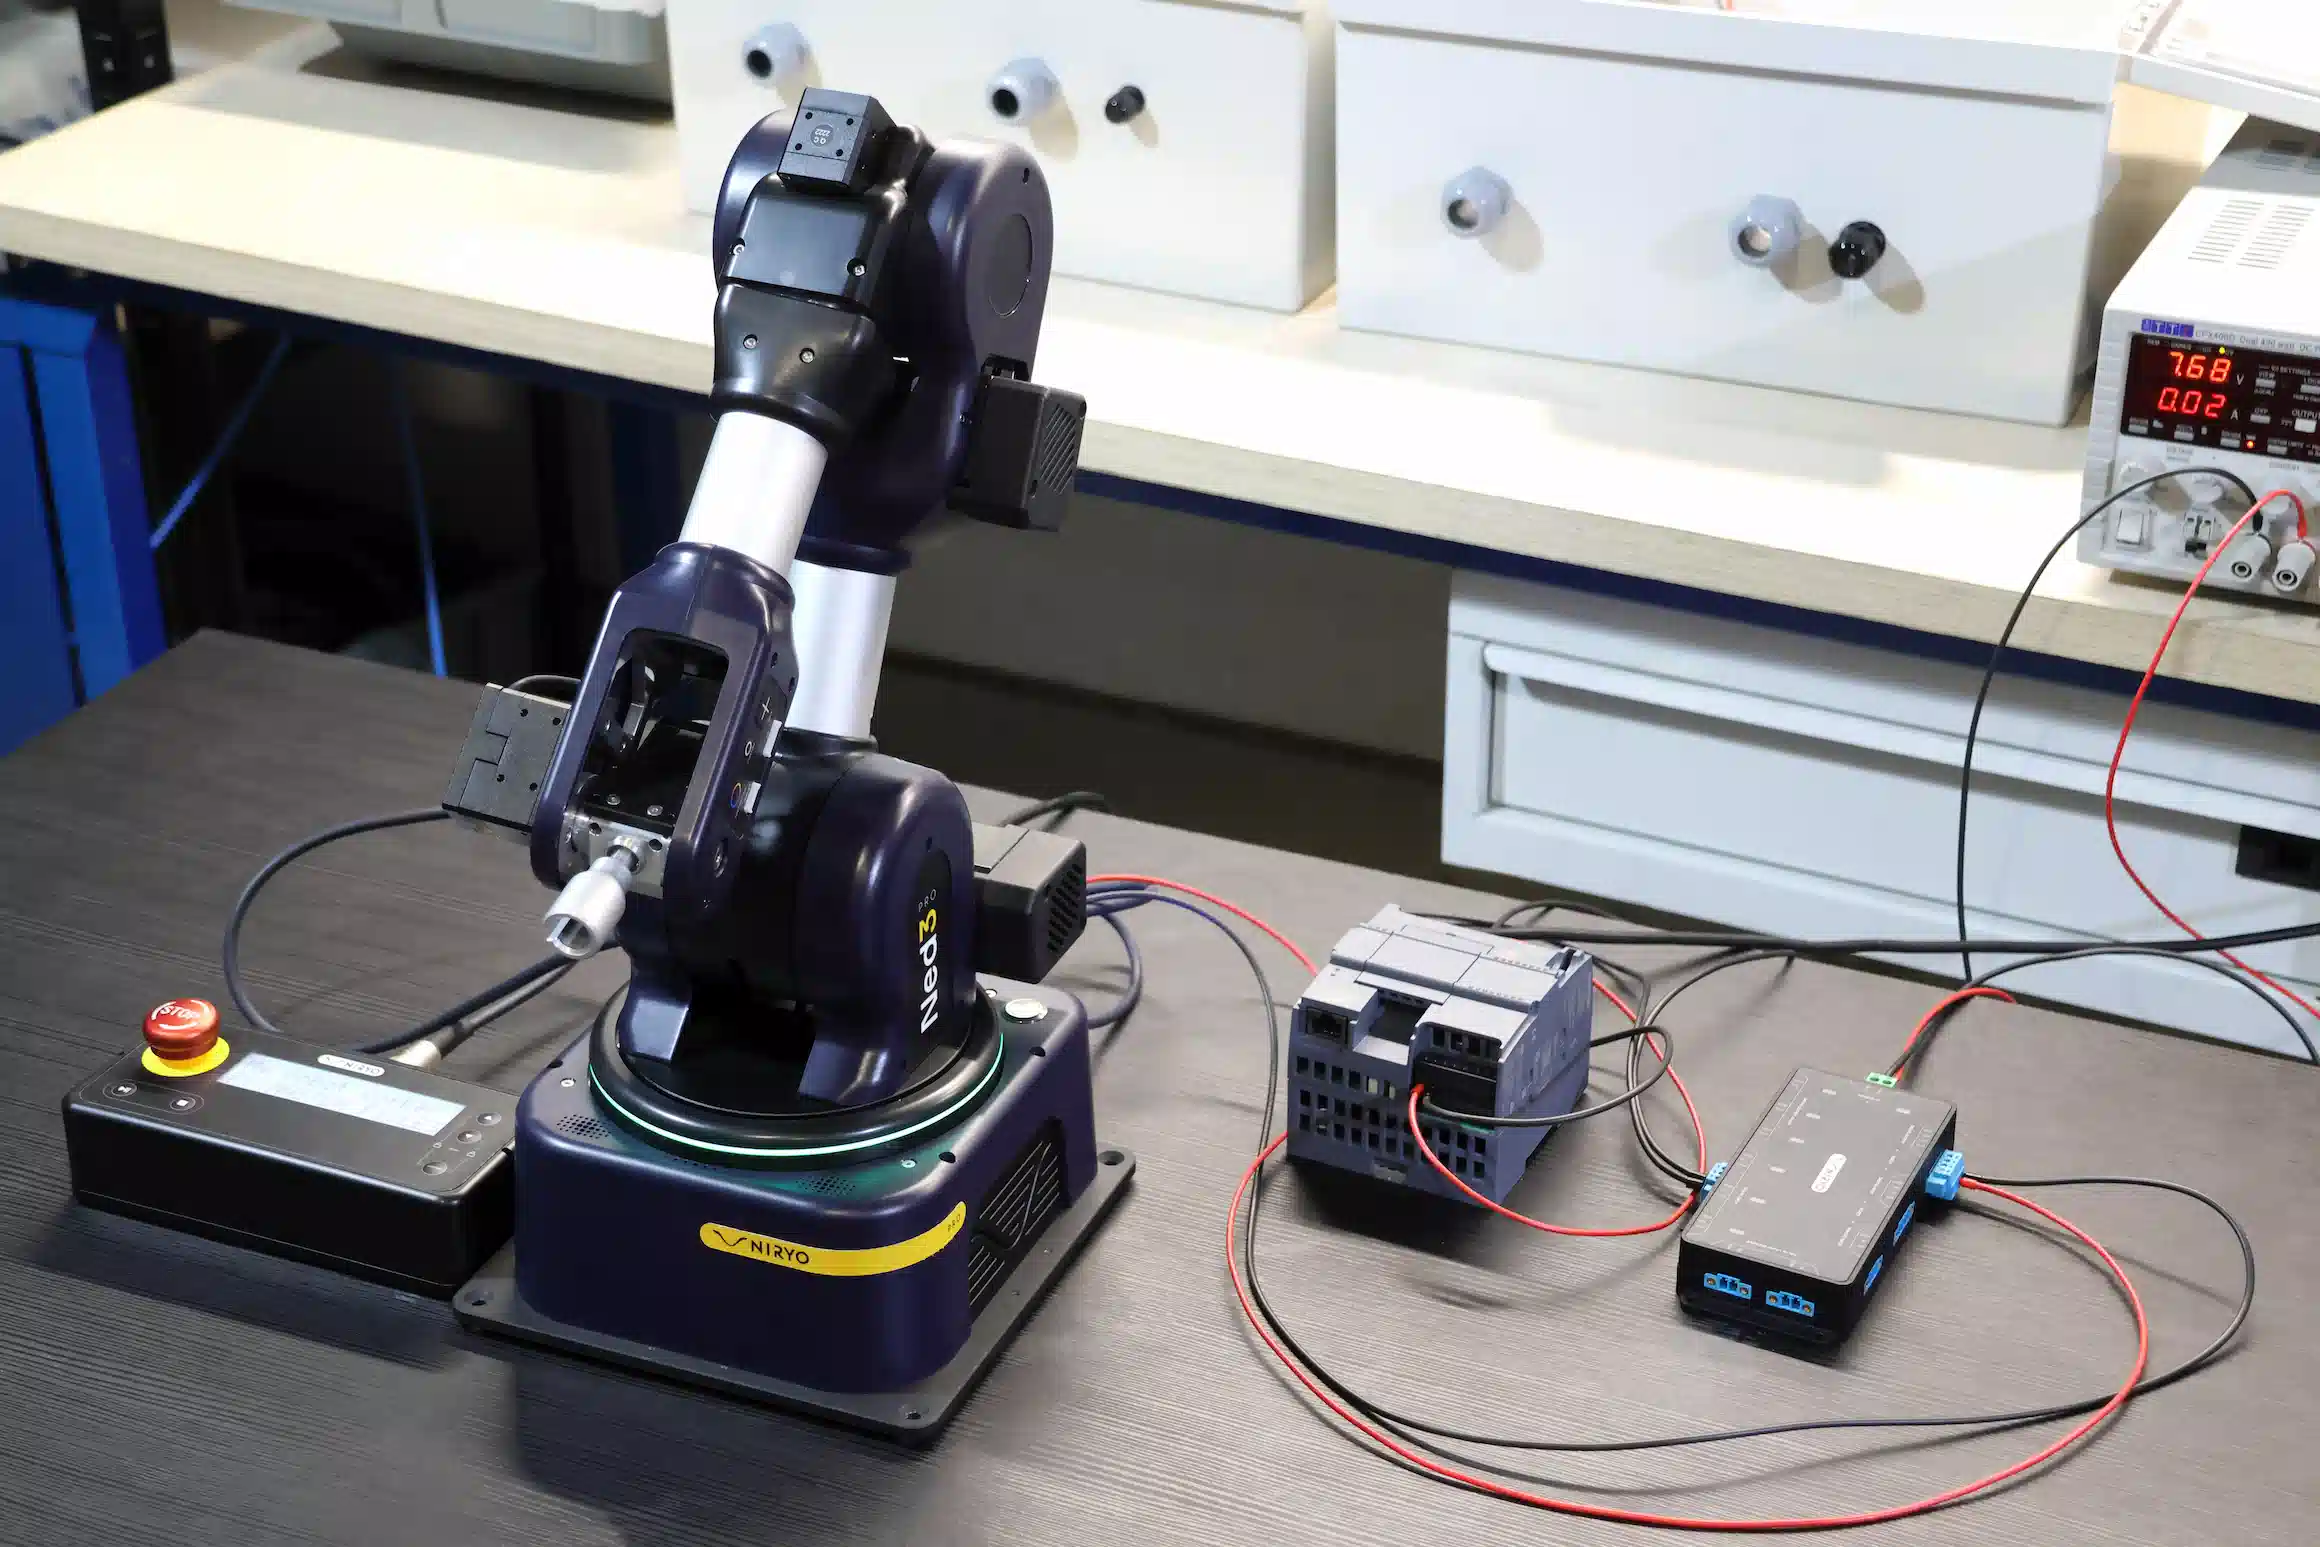
Learning Industrial Automation with PLC Control and the Ned2 Robot
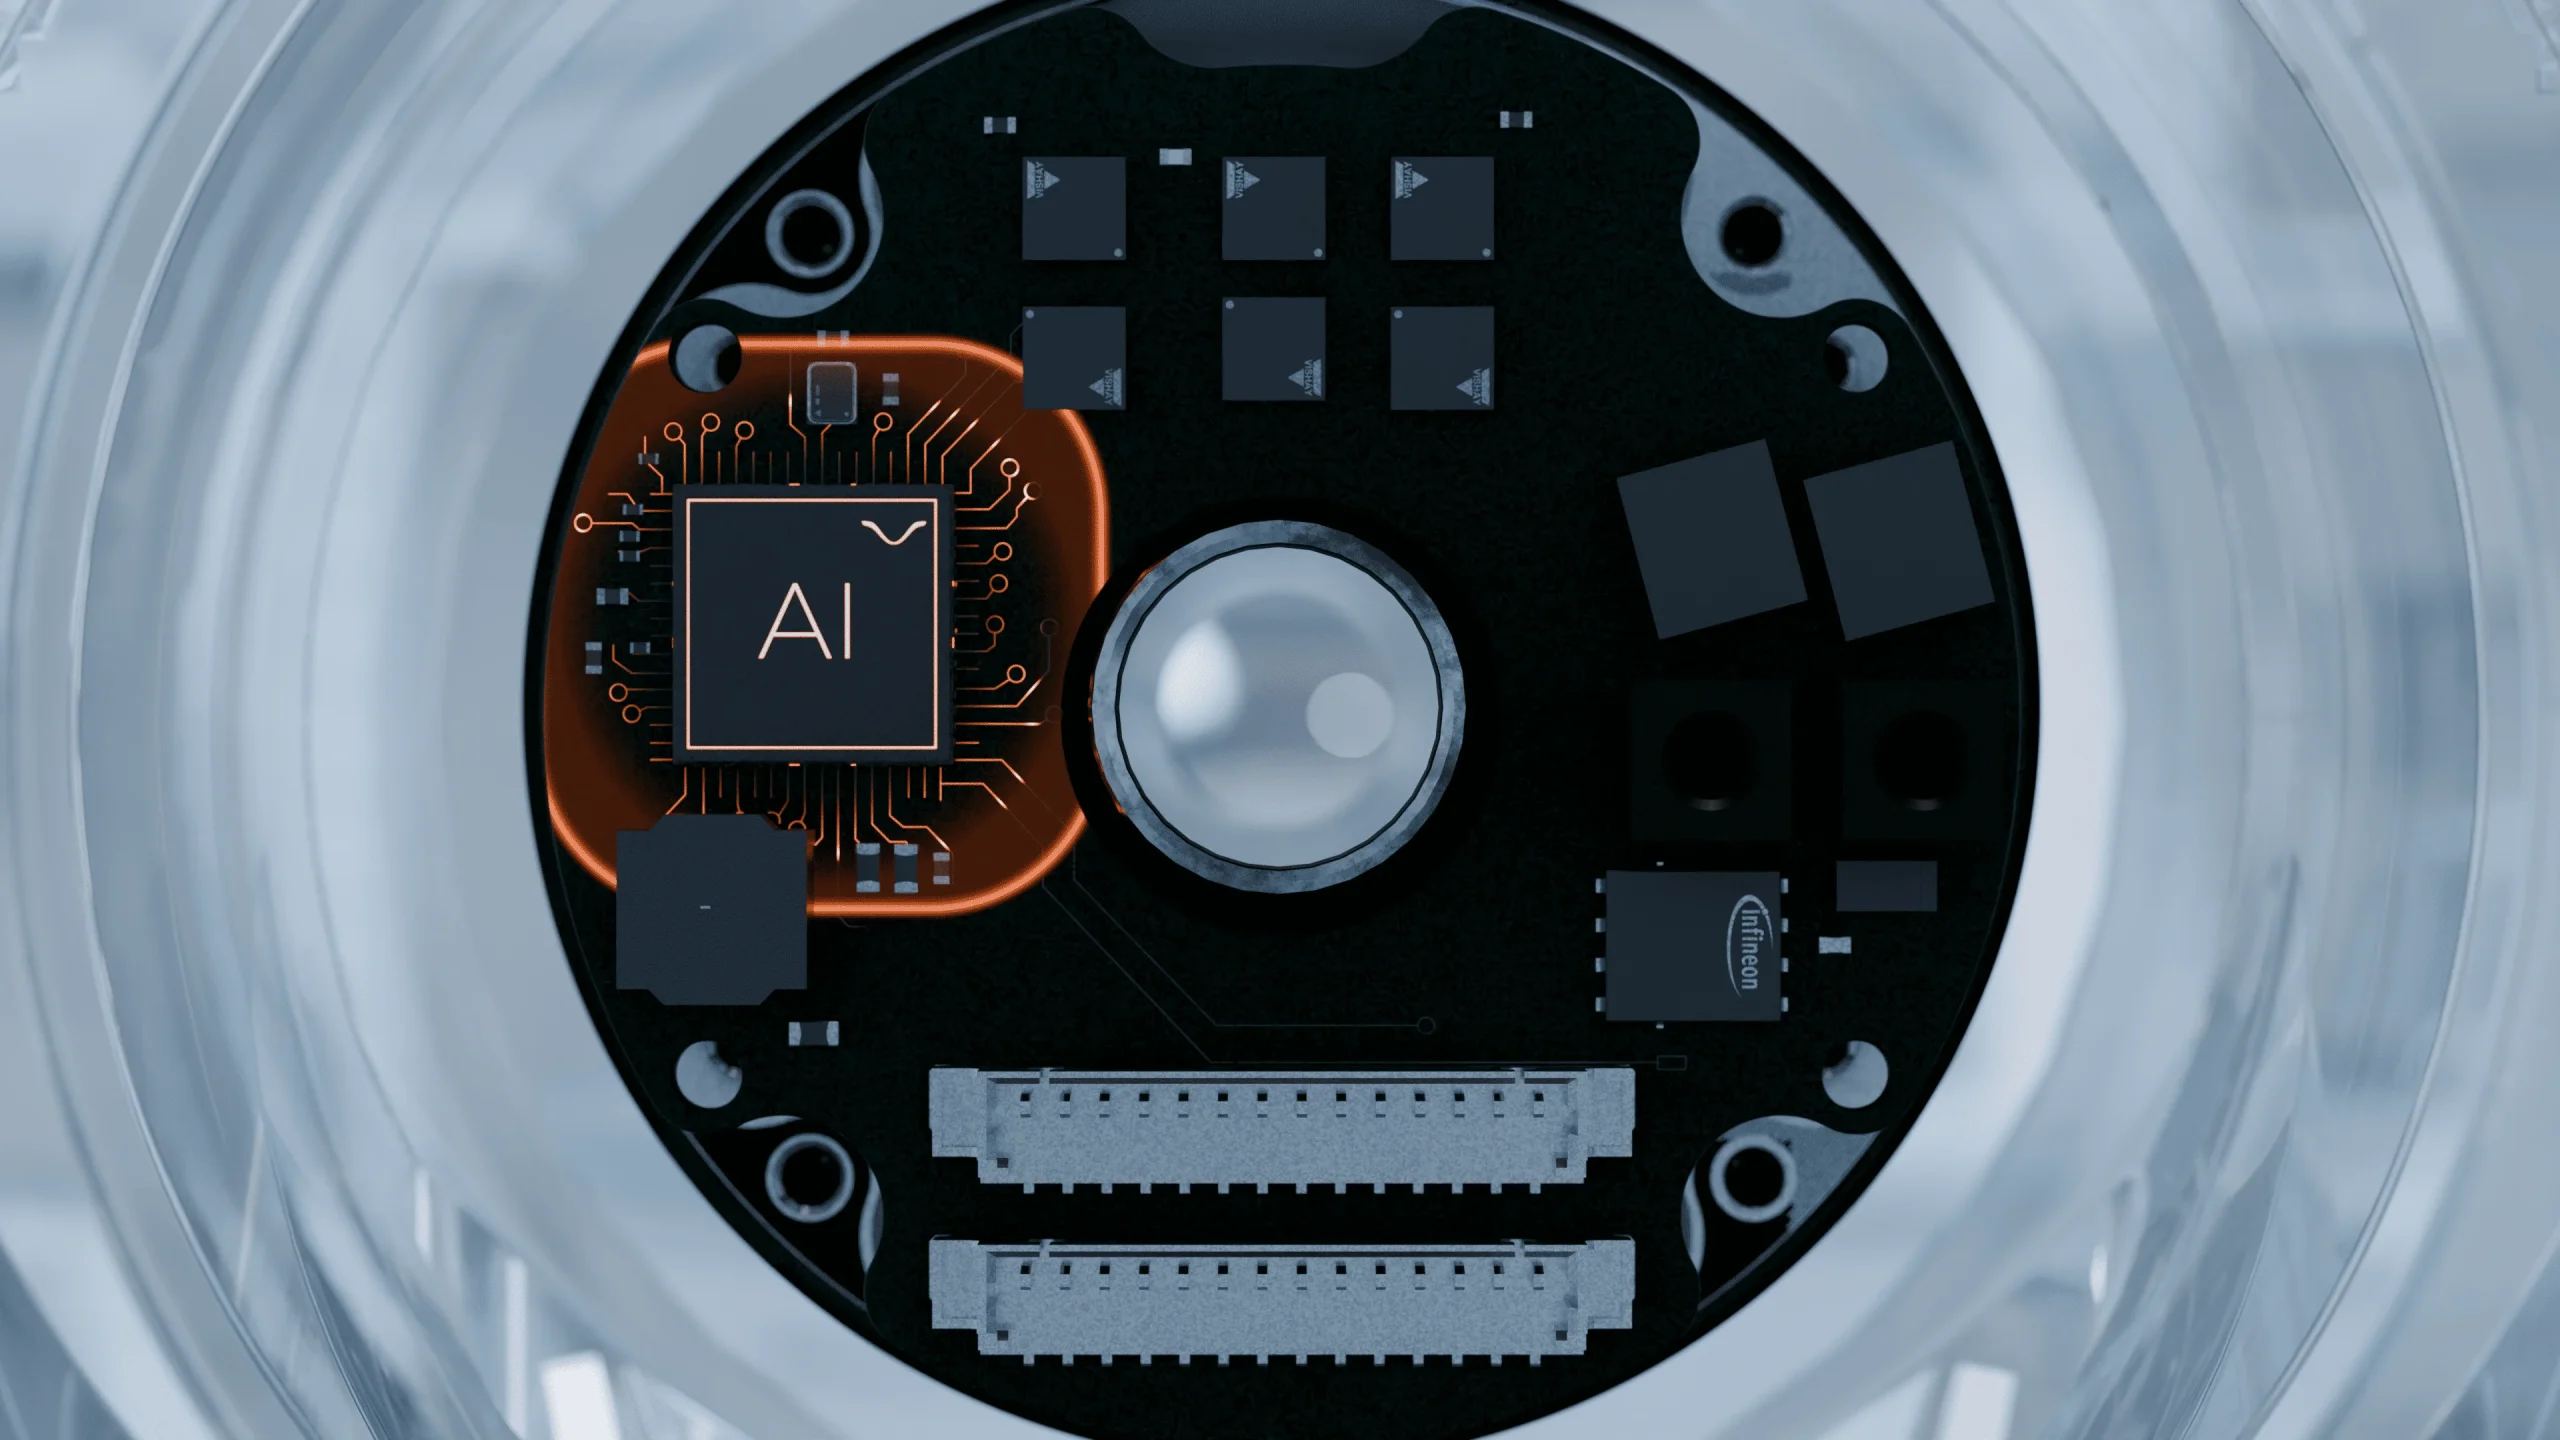
Physical AI: How Do We Move from the Lab to Industrial Reality?
Nate Unveiled at Global Industrie: A New Approach to Modular Industrial Robotics
Robotize your educational production line under real-world conditions with our Integration Pack
Why teach cybersecurity using physical systems such as collaborative robots?
Made In France: Manufacturing Reshoring Without Losing Competitiveness
Training the next generation of engineers in cybersecurity with education-ready robots: where theory meets real-world practice
Sovereign Robotics: A Strategic Asset for France’s Defense Industry
Physical AI: How Artificial Intelligence Is Transforming Industrial Robotics
Modular Robotics as a Strategic Driver of European Technological Independence
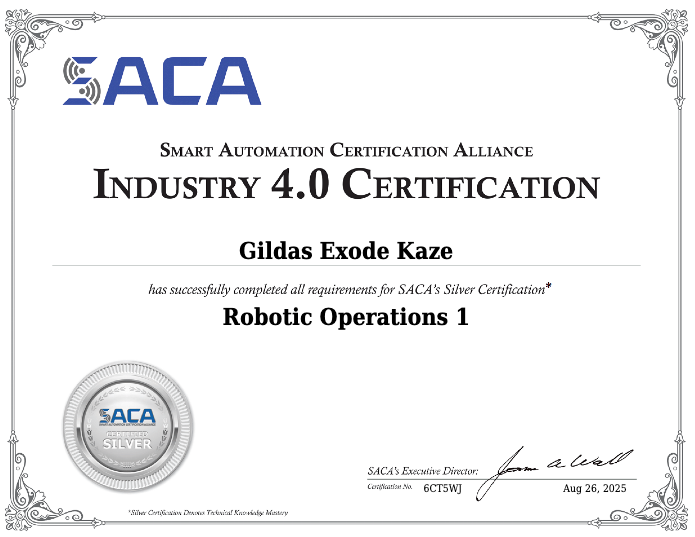
How to Prepare Students for SACA Robotics Certifications using Niryo CTE Pack ?
How to improve the mechanical design profession with collaborative tools? Choosing Onshape
Niryo reveals Nate, the robotic platform that makes industrial automation more accessible.
The impact of robotics on student engagement
From education to business: how to build a concrete bridge through robotics
Robotics and interdisciplinarity: math, physics, and computer science in action
Sensors in robotics: role and most commonly used types
How Does a Robotic Arm Work? Theory and Practical Applications
ALL PRODUCTS
NIRYO FOR INDUSTRY
Secondary Education
NIRYO FOR EDUCATION
AI
 Contact


 Sign in