
 Contact


 Sign in
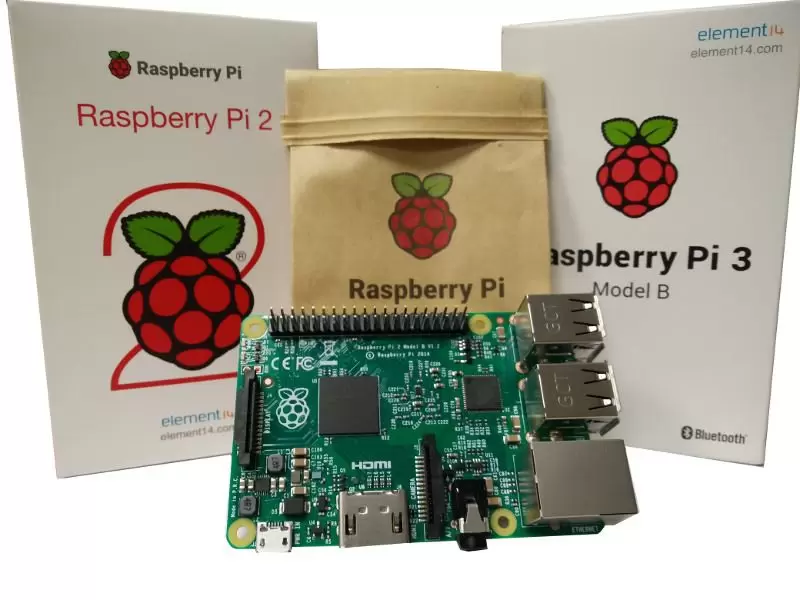

You want to start learning robotics and do really cool stuff by making your robot clever ?
Raspberry Pi boards and robots are close to achieve the perfect match. In the future, many accessible robots will embed a Raspberry Pi board (or a similar board) to provide great functionalities for a good price.
A Raspberry Pi board is a small computer you can use for anything you want, from IoT (Internet of Things) to robotics, web server, …
If you want to take part in the next robotics revolution, it’s time for you to learn robotics with Raspberry Pi !
In this post (2 parts) we’ll give you some guidelines about where to start with a Raspberry Pi board, and which things you should focus on to learn robotics while getting benefit from all the nice and useful Raspberry Pi features.
What is Raspberry Pi
Raspberry Pi is a project developed by the Raspberry Pi foundation to bring accessible computers and technology education for anyone in the world.
Raspberry Pi is now a series of 3 computer boards with different configurations.
What you’ll find on a Raspberry Pi board :
- Processor
- RAM
- USB ports
- HDMI port
- Ethernet port
- Camera interface
- GPIO pins
- microSD card reader
As you can see, nothing too different from a real computer. In fact, a Raspberry Pi is a real computer, which fits on a credit card size board. From that you’ll also have different ports and pins to connect many devices and hardware components. Impressive, right ?
What will you learn with Raspberry Pi
Before you start learning robotics with Raspberry Pi, it’s better to know exactly what you will learn when using this computer board.
Robotics is mostly about 3 skills : mechanics, electronics, computer science. With Raspberry Pi, you will mostly learn about computer science and communication protocols for dealing with external electronics devices such as sensors, motors, …
You will also learn about system administration and network, as you will need to configure some part of your operating system, and you might need to communicate with other boards or Internet services.
Finally you will extend your knowledge about electronics. If you want to receive data from a sensor (for example to know the inclination of your robot), you will learn how to use some communication protocols, how to plug the wires in the right place, and how to read a component datasheet. Reading a datasheet is quite hard at the beginning, but once you manage to understand one, you can almost understand all of them, as they often follow some similar patterns.
After all that, if you want to go further, you could buy a board with a micro-controller (like Arduino) that you will use along with your Raspberry Pi board to do more “low level” tasks on your hardware. You will get to learn different aspects of robotics.
What you can do, and what you can’t do with a Raspberry Pi board
Let’s understand what are the benefits and the limitations of using a Raspberry Pi board.
As a Raspberry Pi board is a real computer, you will be able to do some heavy computation, and run real software developed by you or by the community. You will not be limited to basic programs (like blinking leds, or controlling a motor). You will be able to put more intelligence in your robot.
Raspberry Pi comes with some operating systems made for beginners, along with easy and detailed instructions. That way you don’t need to worry about the setup, you can directly learn robotics with Raspberry Pi, by following some tutorials online and experiment on your own.
You’ll also find a lot of available ports and pins for network communication and hardware control. On the last board (Raspberry Pi 3), you can also use Wi-Fi and Bluetooth, which are natively integrated !
Combine all of that, and the fact that Raspberry Pi boards have the size of a credit card : it is very easy to embed a board on your robot.
Whether you are a total beginner or an advanced user, you will always find your way to control your robot using a Raspberry Pi board. A great way to learn robotics !
The only limitations are that even it’s a computer, it is certainly less powerful than your laptop (unless you have a 10 years old laptop…). You will be able to run almost everything you need for your robot, but don’t expect to launch some heavy graphical programs like CAD softwares (Solidworks, Catia, …). However don’t think it is a red flag for your project, because you don’t generally buy a Raspberry Pi for this purpose.
Another limitation, more complex, is when you need to deal with real-time constraints on your robot. We will develop this point later on this post.
Raspberry Pi 1, 2, or 3, which one to choose
Each board takes the best of the previous one, with more powerful components, and new functionalities. It doesn’t mean that it becomes more expensive for each iteration. You can find both 3 boards at a price under 40$.
We strongly recommend that you start using a Raspberry Pi 3. This board is more powerful than the Raspberry Pi 2 (faster processor and more RAM), and has very useful new features, such as Wi-Fi and Bluetooth native integration. You can now simply use your Raspberry Pi board without any other device, all you need to do is to plug a keyboard and a mouse, and you can get started.
Even if Raspberry Pi 3 is quite new (early 2016), the softwares and operating systems that come with it are now stable, and the community is very active, so don’t worry about missing features.
In this first part we gave you an overview of how to learn robotics with Raspberry Pi. Now you should have a better understanding of the big picture.
In the second part of this post we’ll go into the details and see what to learn and what to do with your Raspberry Pi board.


