Is it possible for Ned2 to recognize multiple objects on its workspace?
YES, Definitely! Thanks to Tensorflow (open-source machine learning tool developed by Google), recognizing multiple objects became possible.
Do you have a Ned2 and are curious to test this feature?
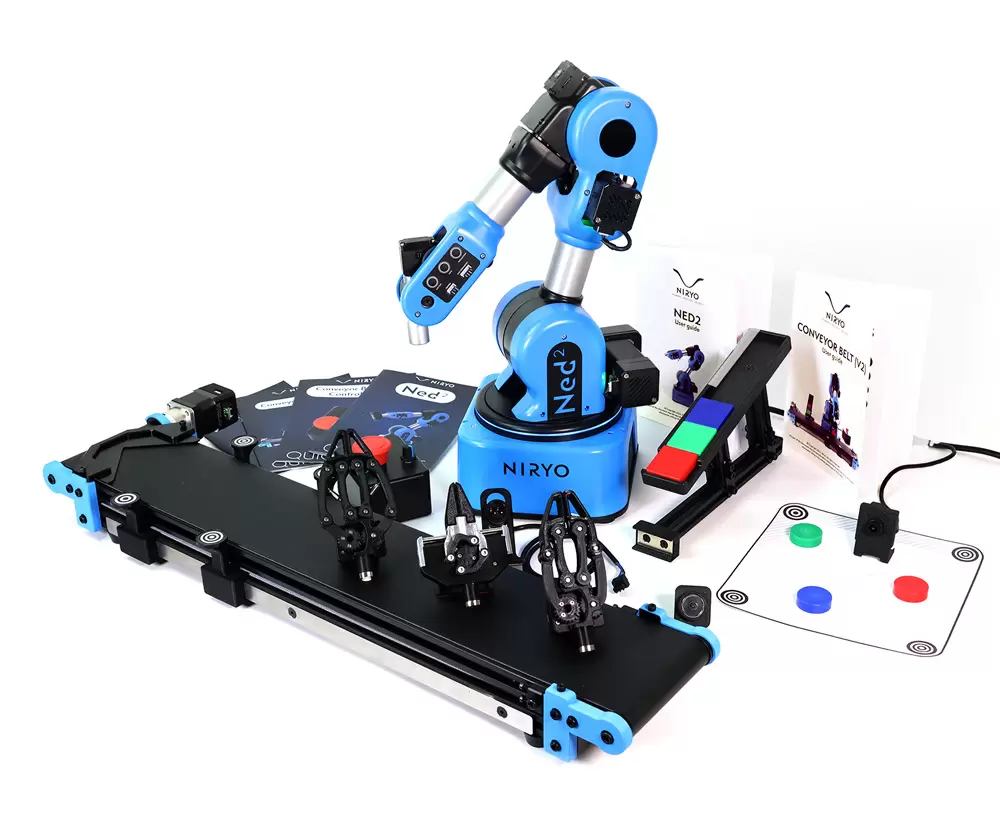
It’s really simple, all you need is your Ned2, the vision set and its workspace, the large gripper and several objects. We’ll be using chocolate because we’re craving it, I mean, who doesn’t?
Summary:
1. How to set-up/prepare my working space?
2. How to launch the application on Windows?
3. How to launch the application on Linux?
4.The launch is done, yet there’s something wrong
5.The process:
- How to create my database? (Objects recognition)
- How to Track the objects?
- Showtime!
How to set-up/prepare my hardware and my software?
Hardware
First thing is that the workspace should be calibrated with Niryo Studio. Also, the workspace’s name should match the one you filled in the robot’s program (by default, the name is “default_workspace”).
If your workspace is not in front of the robot, you will have to change the variable “observation_pose” so the robot can see the four workspace’s landmarks.
Software
First, install PyNiryo. Then, download the application’s source code on our Github. Let’s assume you will clone the repository in a folder named ‘tensorflow_ned’. You can clone it with the command:
git clone https://github.com/NiryoRobotics/ned_applications.git
Then, Open the robot_gui.py file and change the robot_ip_address and the workspace variables by the current private IP address and workspace name of your robot:
robot_ip_address = “IP address of your robot”
workspace = “workspace of your robot”
If you use the Vacuum Pump, change also the z_offset variable, which is the offset between the workspace and the target height. This will allow the Vacuum Pump to reach pawns in order to grab them. Since the Vacuum Pump is shorter than the Large Gripper, you can change the z_offset to a small negative value, as:
z_offset = -0.01
How to launch the application on Windows?
Start by installing Anaconda to use the application’s installation script. Anaconda must be installed on its default location (C:Usersanaconda3).
You could opt for the Simplified installation or the Manual installation.
In the first case, just go to the application’s folder, launch setup.bat to install all the used libraries, accept the installation of these libraries and launch run.bat.
The program should launch. If it doesn’t, launch a manual installation.
- Open a terminal from Anaconda Navigator (CMD.exe Prompt, “Launch”). You should see “(base)” displayed to the left of your terminal.
- Update Anaconda:
conda update -n base -c defaults conda - Create a TensorFlow 2 environment with python 3.6:
conda create -n tf_ned tensorflow=2 python=3.6 - Enable TensorFlow’s environment:
conda activate tf_ned - You should now see “(tf_ned)” instead of “(base)” on the left of your terminal, update TensorFlow:
pip install –upgrade tensorflow - Install opencv, pygame and pygame-menu libraries:
install opencv-python pygame pygame-menu - Get in the application folder:
cd Desktop/tensorflow_ned - Launch the program:
python robot_gui.py - Launch:
run.bat - Or in the application’s directory:
conda activate tf_ned python robot_gui.py
How to launch the application on Linux?
Start by installing Anaconda to use the application’s installation script.
- Open a terminal. You should find “(base)” displayed on the left of your username.
- Update Anaconda:
conda update -n base -c defaults conda - Create a TensorFlow 2 environment with python 3.6:
conda create -n tf_ned tensorflow=2 python=3.6 - Enable TensorFlow’s environment:
conda activate tf_ned - You should now see “(tf_ned)” instead of “(base)” on the left of your terminal, Update TensorFlow:
pip install –upgrade tensorflow - Install opencv, pygame and pygame-menu libraries:
install opencv-python pygame pygame-menu - Get in the application’s folder:
cd tensorflow_ned - Launch the program:
python robot_gui.py - Enter the command:
conda activate tf_ned python3 robot_gui.py
The launch is done, yet there’s something wrong with the process.
Make sure that Ned2 is able to see the four workspace’s landmarks from its observation pose, or else it will automatically switch to learning mode and the graphic interface will be red.
In order to make the graphic interface turn green, move the camera so the robot can see the four landmarks.
Then, simply confirm the desired position by either clicking on the screen or by pressing enter and it will be saved for the next use as well.
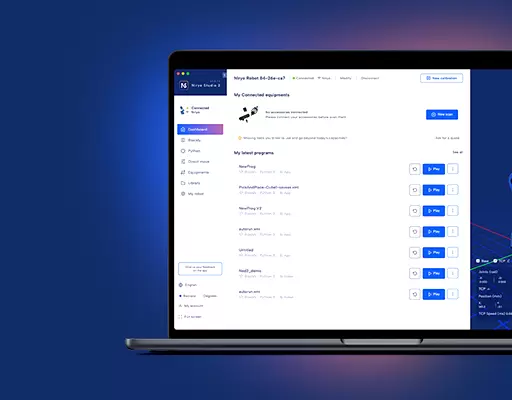
Here’s how the interface home page should look like:

The process:
How to create my database? (Objects recognition)
Ready to take pictures? You need to take at least 20 pictures of each object to get good results. Each time try to change the angle and the lighting conditions
You’ll be able to find the pictures you’ve taken inside the “data” folder, in a folder named with the name of the concerned object.

How to Track the objects?
First, the image shooting “take_workspace_img()” allows the robot to send an image, to crop it and to adjust the lens’ distortion.
Second, the calculation of the mask “objs_mask()” uses on one hand the cv2.cvtColor() to modify the image colorimetry from RGB to HLS, and on the other it uses cv2.inRange() to get a mask which approximately delineates the objects to detect. In order to only keep objects with a sufficient surface, combine the cv2.dilate() and cv2.erode() functions to remove images’ impurities.
Here’s how the image should look like:
Third, the Objects’ extraction “extract_objs()” uses the cv2.findContours() to obtain the list of the outline of the objects being on the previously calculated mask. Then, it calculates the center as well as the angle of the objects with the help of the vision functions.

Finally, we obtain a square containing the smallest object and use this information to extract the object from the image and put it vertically (the same orientation makes the recognition easier for TensorFlow).

Showtime!
Launch the training either by launching training.py (python training.py) or click on the “Train” menu and “Full training” button in the graphic interface.
Your TensorFlow model is created!
Then create a list which contains all the images from the “data” folder and a list which contains the label corresponding to each image. When the training is over, test the model’s performances and save it in the “model” folder.
If you wish to launch a quicker training use the “Lite training” button.
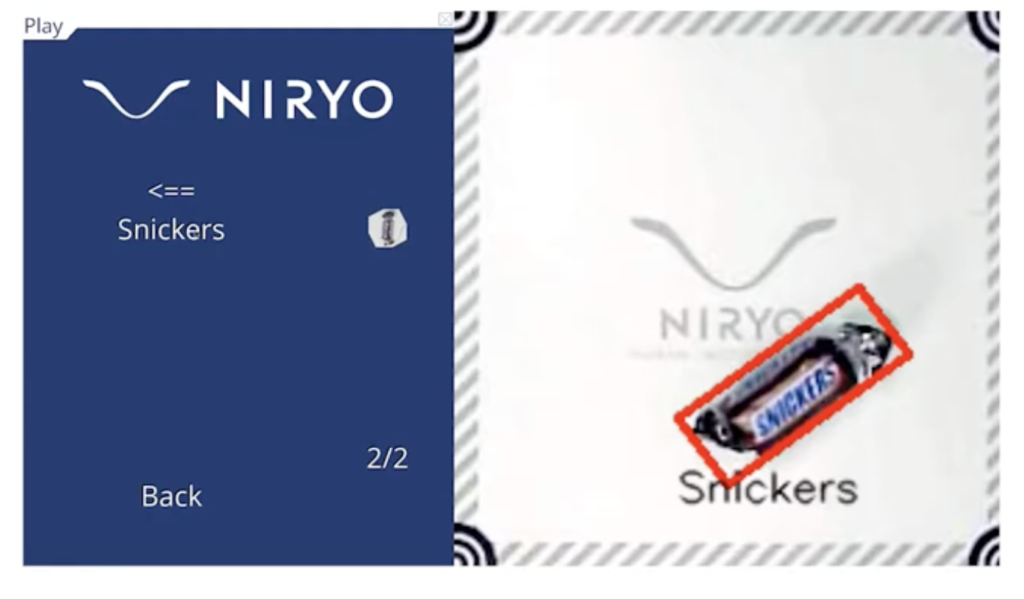
At the end, launch robot.py (python robot.py) and enter the name of the object you want Ned2 to grab, or use the graphic interface’s “Play” menu. The program uses the previously trained model to recognize the different objects on the workspace.