If you received a warning message on Niryo One Studio saying that your image is not up to date, or if you want to update your Niryo One to the latest version, then this tutorial is what you are looking for.
You can check your current version in the “Settings” part of Niryo One Studio. The latest version number can be found on the download page.
Step 1 : Remove the microSD card from the Raspberry Pi 3 board
Make sure that the robot is powered off, and check under the base. You can remove the microSD card from there.
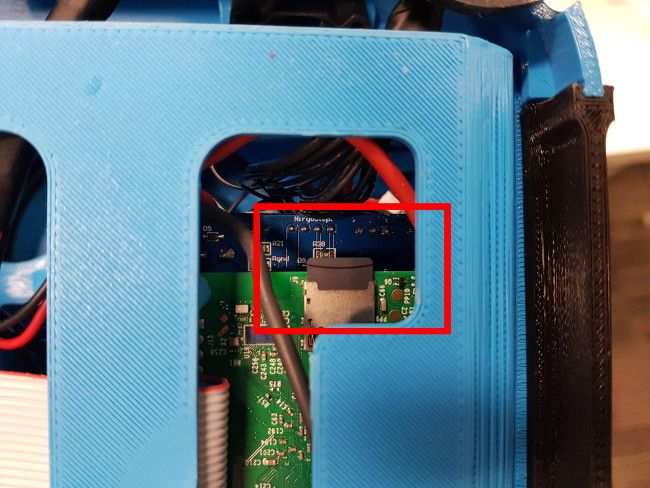
Then you need to use a microSD-to-SD card adapter, or a microSD-to-USB adapter, like the one you received with your Niryo One. Plug this adapter to your computer.
Step 1.1 : If you use a new microSD card
Important notice : Your microSD card needs minimum 8GB of space, and it must be a class 10 SD card (not less).
Step 2 : Get the latest Niryo One Raspberry Pi image
Download the image (about 2 GB) from here. By downloading on this page you’ll be sure that you get the latest version.
Use any pre-installed software such as WinRar or 7-zip (or install one of them) to extract the archive. The size of the image is about 8 GB (we reduced it to 7.9 GB so it should fit in all microSD cards).
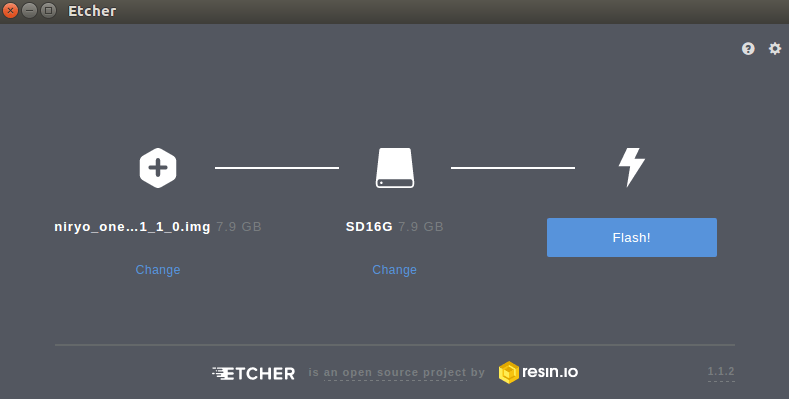
Step 3 : flash the microSD card with the downloaded image
Plug the microSD card (with the adapter) to your computer.
You need to use a software to flash the image into your microSD card. We recommend you use Etcher, which is easy to use and Windows/MacOS/Linux compatible. Download Etcher here.
Launch the software (no installation needed, just unzip and click on the executable inside the folder), select your image (make sure that you select the unzipped image, not the archive), select your microSD card, and click on “Flash!”.
For Linux users : If you want to do everything in the terminal, check this tutorial here on the Raspberry Pi website.
Step 4 : Put the microSD card back in the Raspberry Pi 3
Once flash is completed, remove the microSD card and put it back in the Raspberry Pi 3 board, at the same place you removed it in step 1 of the tutorial.
Then launch the robot to test if everything is OK. If after about 1-2 minute, the LED becomes green or blue, the update worked !
Notes :
- After you make the update, the image might encounter compatibility issues with Niryo One Studio. In this case, please update Niryo One Studio.